![]()
In order to set up an Android Box for CC Screens start by:
- Unpackaging the Android Box
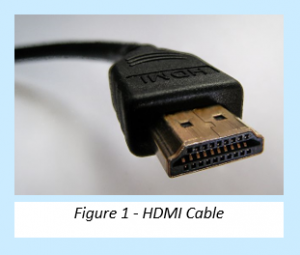
- Connecting it to the TV via the HDMI cable and
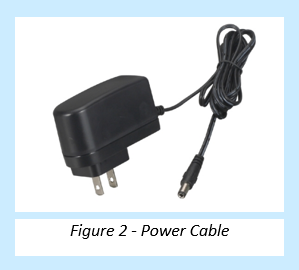
- Plugging it into a power socket using the power cable.
Both cables plug into the back of the Android Box, both cables for this are included in the box.
After plugging everything in, you will need to change the Input on the TV in order to show what is coming from the box. This can vary depending on the TV model, but generally look for an INPUT or SOURCE button on the TV remote or on a TV menu. After finding this (it may look like the photo below), select the HDMI input.

After selecting the Input, turn the Android Box on. You can do this either with the small remote included with the box or by switching the Android Box power plug off/on.
You should now see on the TV the box starting up, which will take you to the Main Menu on the box. Here you will see things like Apps, Settings, Browser.
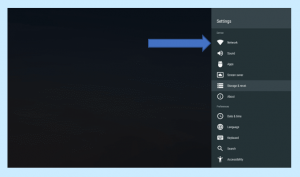
Now is a good time to check that the box is connected to the WIFI. The small WIFI symbol on the bottom of the screen will turn BLUE when connected to a network. If the network details haven’t changed since we sent you the box, it should connect automatically. If not follow the steps below.
Note: Care Control is set to start when the box starts up. If you need to connect to the WIFI, close Care Control when it starts up by using the small remote and press Home.

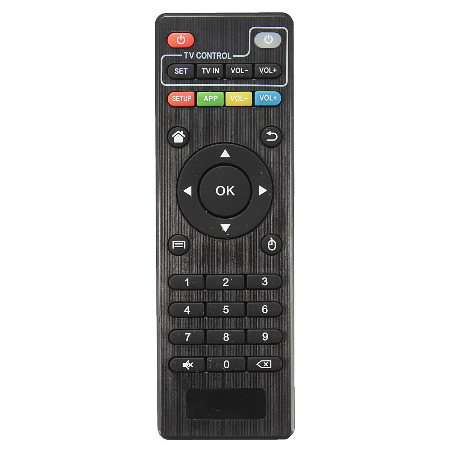
Using the small remote, navigate to the Settings option and choose Network. Here you will be able to see networks that are available to connect to. Select your network and enter the password.
Note: it is possible to plug a keyboard and mouse into the Android Box to navigate these menus and enter text.
Now that the box is connected to the WIFI, please head back to the Main Menu using the Home button on the small remote.
Select the Apps option on the main screen which will open a list of Apps on the device. You should see Care Control Screens HD. Select this to start it up.
Care Control Screens should load up and if it asks for a SIT code and screen name, then enter these accordingly.
If no slide options are set, you will need to do this using the Care Control Screens Controller. Please refer to other guides for this:
Download for CC Screens Controller on PC:
http://secure.carecontrolsystems.co.uk/downloads/ccscreenscontrol.exe
Creating a Group:
https://www.ccacademy.co.uk/knowledge-base/setting-up-a-group-on-care-control-screens-controller/
Adding slides to the Group:
https://www.ccacademy.co.uk/knowledge-base/creating-and-adding-instances-to-group-cc-controller/
Assigning this to your Screen:
https://www.ccacademy.co.uk/knowledge-base/assigning-groups-to-screens/