
In order for you to use QR code scanners on your devices, first you will need to set up QR codes on your system.
To set up QR codes for your residents, firstly you will need to access the Administration of Care Control on Care Control Windows.
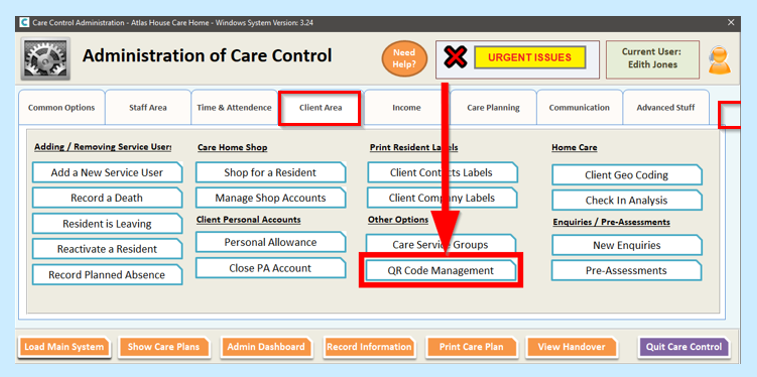
Go to Client Area and then into QR Code Management:
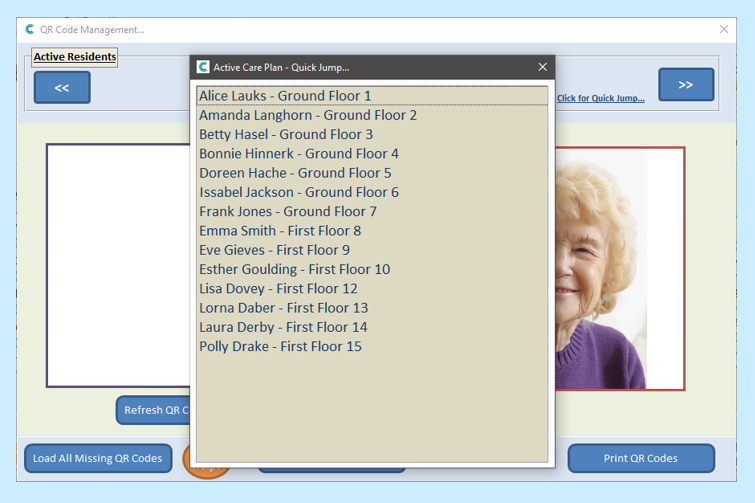
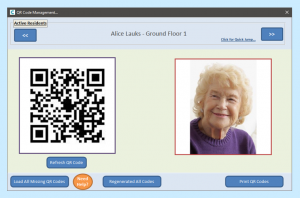
You can select a resident from a list by clicking on Click for Quick Jump or you can click on the arrows in the top left/ right corners to switch from one resident to the next:


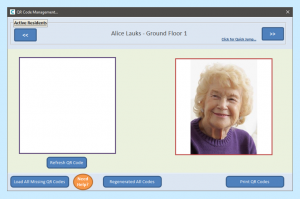
If you want to assign/ change a QR code for a particular resident, once you are on the correct resident’s QR Code page select Refresh QR Code:

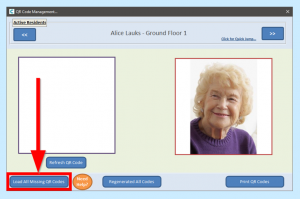
Alternatively, if you want to assign QR codes to multiple residents select Load All Missing QR Codes:
Once you have created your QR Code you should see this populated in the box on the left:
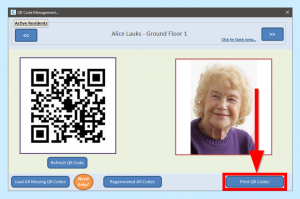
To print the QR Codes- select Print QR Codes in the bottom right hand corner:
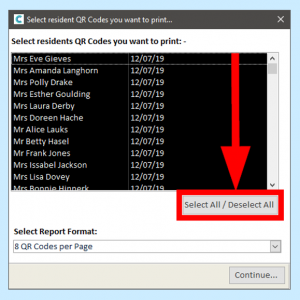
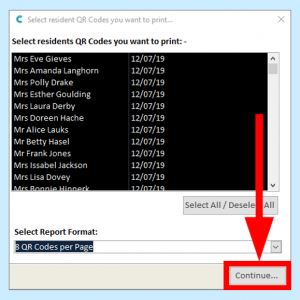
You can either select individuals by clicking their names or select all of your residents by selecting Select all/ Deselect All. When a resident is selected, they will be highlighted in black:
If you are printing multiple residents, you can select how many QR codes you would like to print per page by selecting 4 or 8 from the drop-down. You can also select to print door signs with the QR code- these are available in portrait and landscape:
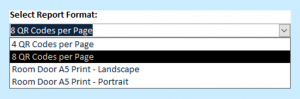
Once completed, select Continue:
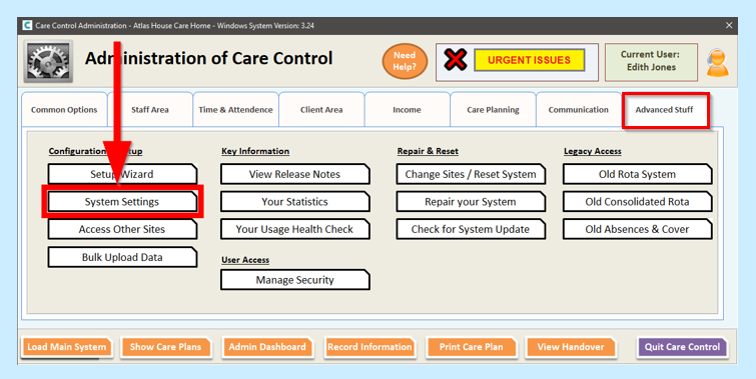
To select which areas of monitoring you would like to use QR codes for, go to System Settings in the Advanced Stuff tab of the Administration of Care Control screen.
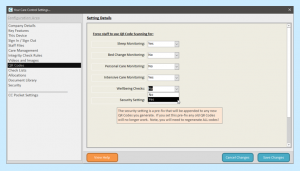
Select QR Codes on the left side. You can select from these options by changing the drop-down option to Yes:
For further information on QR codes on Care Control, have a look at our guide QR Codes – Changing Security.