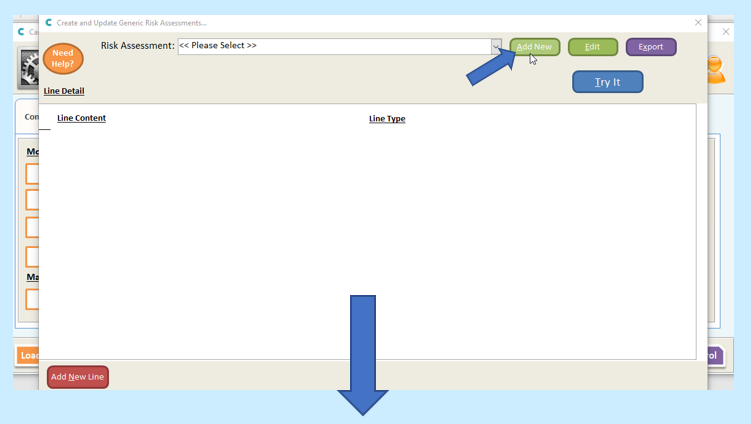
To create a Generic Risk Assessment go to the Administration of Care Control screen on Care Control Windows. From here select Care Planning followed by Generic Risk Assessments.
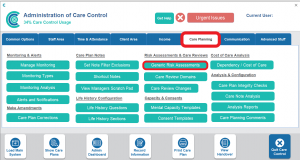
Select Add New.
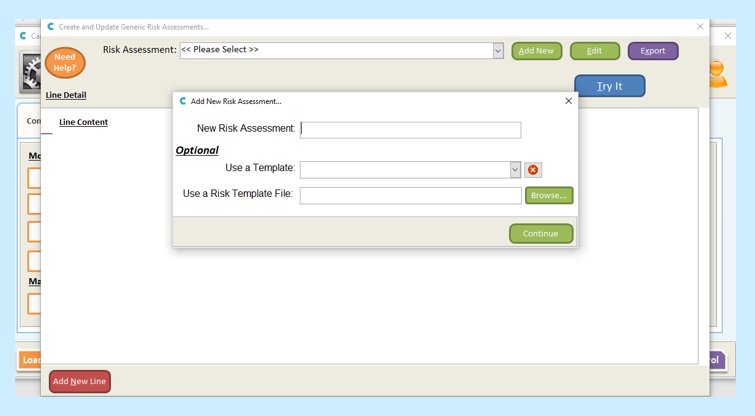
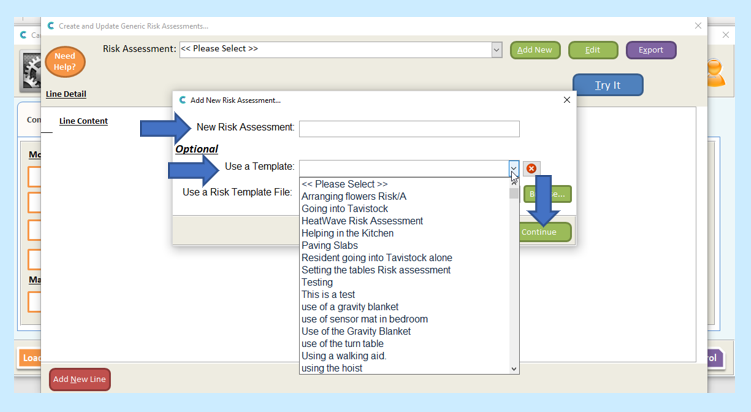
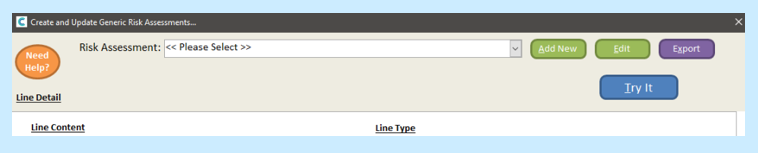
Enter the name of your Risk Assessment. If you have previously created a Risk Assessment you can use it as a template by selecting it from the drop-down next to Use a Template (Care Control has default assessments already loaded onto the system). Select Continue.
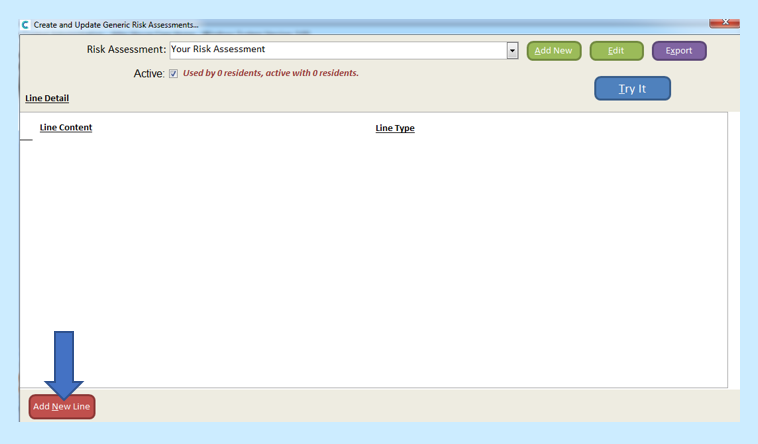
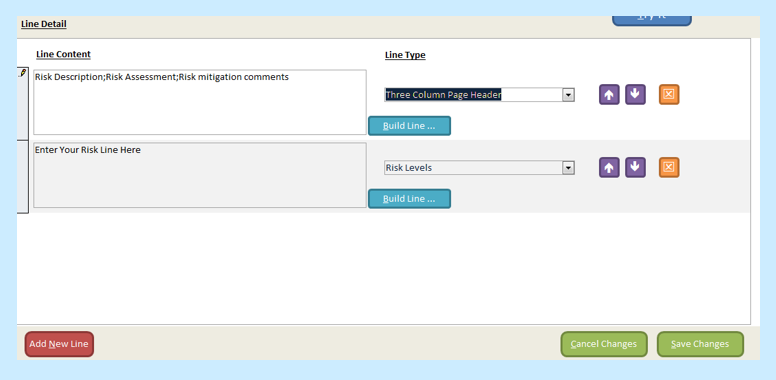
At the bottom of the screen select Add New Line:
Select your line type from the drop-down under Line Type:
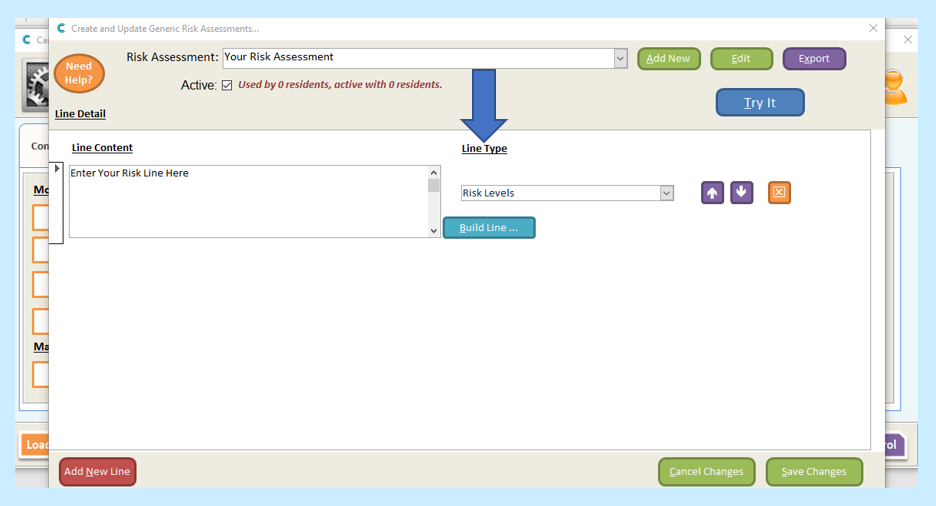
Each Line Type has a different purpose.
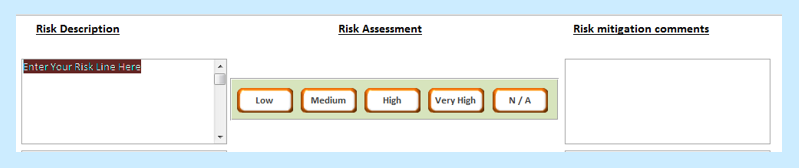
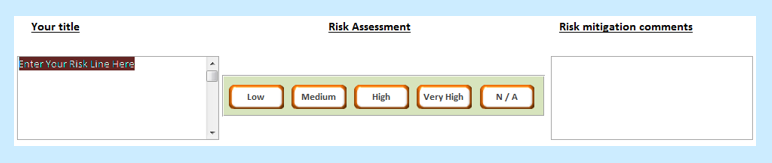
Risk Levels – These give you a Risk Description, Risk Assessment and a Risk Mitigation comments option.

For a title for risk levels select Three column page header. This will give you three titled columns:
Yes, No only/ Yes, No, Not Applicable will also give you three columns:


For a heading for the Yes, No Risk, you will again need to select the Three column page header:

Two field entry will give you two boxes, one for your Risk and one for your Risk Mitigation comments:

For a heading for Two Field Entry you will need a Two column page header.

The Guidance field allows you to enter some information to assist your carers with completing the Risk Assessment. This can either go below or above a risk level. The text in a guidance field will appear in italics to help it stand out.

A Single Field Entry will give you one text box to enter your risk. This is used with the One Column Page Header.


Putting together your Risk Assessment
Select your Line Type using the above guidance.
You can change the wording in the line content by deleting the words and entering your value. It is important that if the words were separated by a semi colon (;), that you leave the semi colon there as this will tell the system where your title has finished.

Once you have completed your line, select Add New Line to create a new line.
If you wish to preview your Risk Assessment, click Save Changes at the bottom of the screen and then Try it at the top:
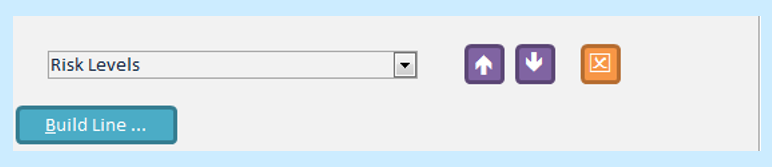
You can move Risks up or down your Risk Assessment by clicking on the purple arrow button to the right of the Line Type’s drop-down:
Once you are finished, make sure you Save Changes and click the red cross at the top right of the screen.
If you receive the error message “Something is not right. You cannot view a risk assessment if it has not got any lines. Make sure your risk assessment has lines added“, it can mean one of two things. Either you have not entered any Lines to your Risk Assessment or you have added too many. You are limited to 17 lines per Risk Assessment and will not be able to exceed this.
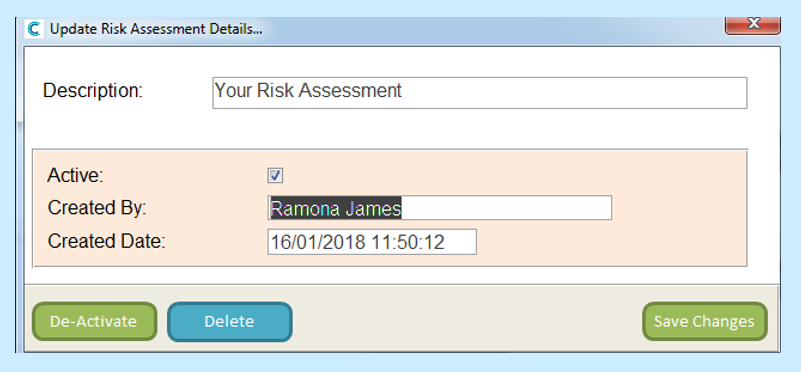
If you are yet to assign the Risk Assessment to a resident through Manage Monitoring then you are able to edit/ delete your risk assessment. To do this select your risk assessment from the drop-down on the generic risk assessments page.

Here you can delete/ deactivate your risk assessment. If you deactivate it will stay on the system however it cannot be used unless it is reactivated.