
Installing Care Control Windows
To install Care Control Windows with Access Runtime 2010, firstly you will need to click on the following link:
http://secure.carecontrolsystems.co.uk/downloads/ccinstaller.msi
Clicking the link will start downloading the Care Control Windows Installer – this will usually appear at the bottom of your screen, but can appear in different places depending on the browser you are using.

Once complete, click on the ccinstaller button to open the installer.

On the Welcome to Care Control Installer Setup Wizard screen, select Next.

The next screen is the License Agreement. Once you have read the agreement, select “I Agree” – if you do not select “I Agree” you will be unable to continue!
Then select Next.
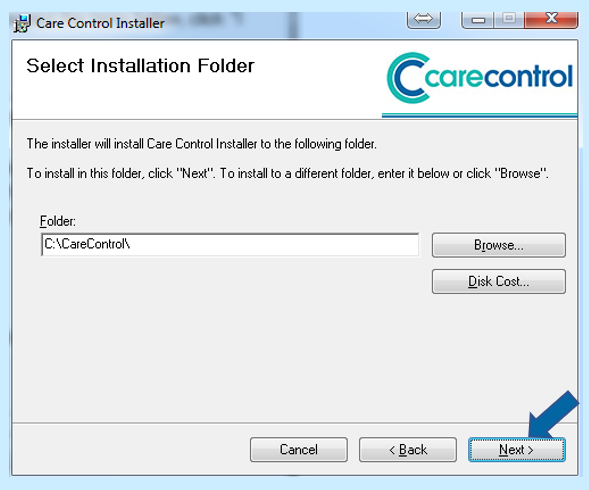 You will now select which folder Care Control will be installed into. It is set to your C: by default and we recommend that you don’t change this.
Then select Next.
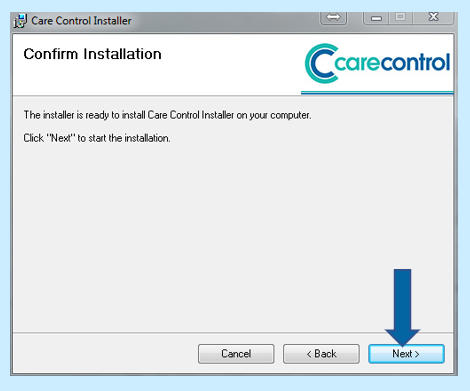
You are now ready to install Care Control.
Select Next again.
The installer will now begin and check if you have permission to install Care Control on your computer. You may be prompted to say if you would like this program to install software onto your computer. Depending on your user account’s administrative rights, you may need to enter an admin password to continue. If you do not know this you will need to speak to the person who originally set up your computer.
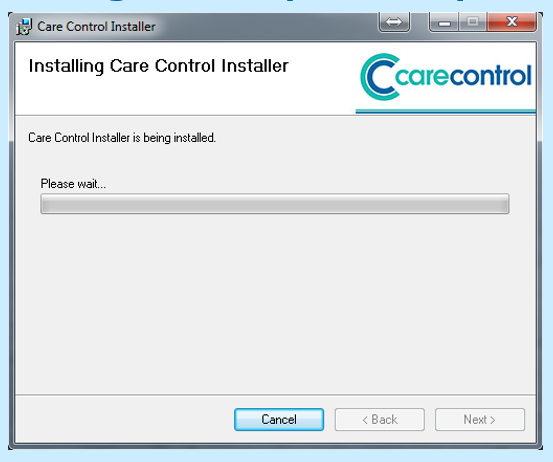
Asking the computer for permission to install can sometimes take a little while, so if your installer appears to be stuck, just give it some time and it will eventually prompt you to make a decision!
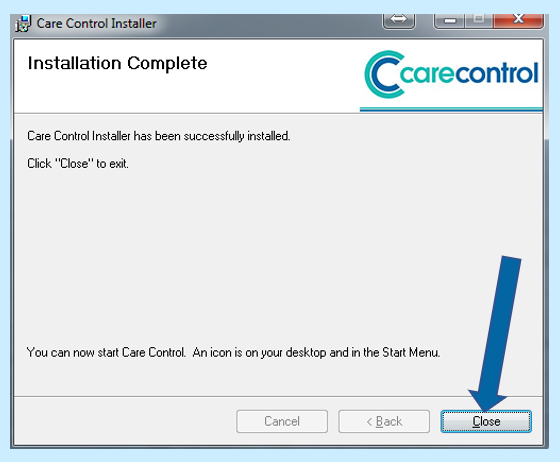 Once permission has been given, you will now need to select Close in order to exit.
You will now have a Care Control icon on your computer’s desktop.
Double click on this icon.
You may now be prompted to allow CCdownloader.exe to make changes on your computer. Select Yes.
If you needed to enter an administrative password earlier, you will now need to do the same again.

Select Next again.
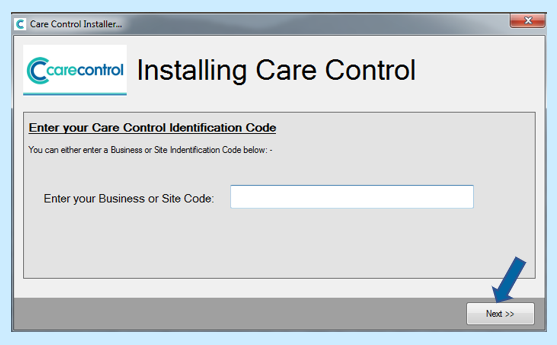
Enter your Site Code (it starts with SIT and there will be numbers and letters which are unique to your own site). PLEASE DO NOT GIVE THIS SITE CODE TO ANYONE ELSE APART FROM THE OWNER AND MANAGER. If you do not have this you will need to ask your manager as you will need permission to install the software on a private computer. Once entered, select Next.
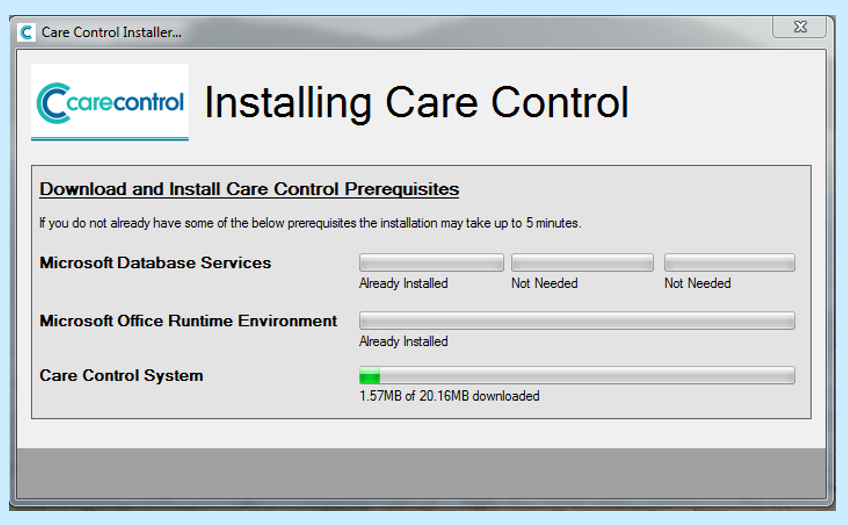
Care Control will now start downloading the software. Depending on the speed of your computer/internet connection this can take a while so please be patient!
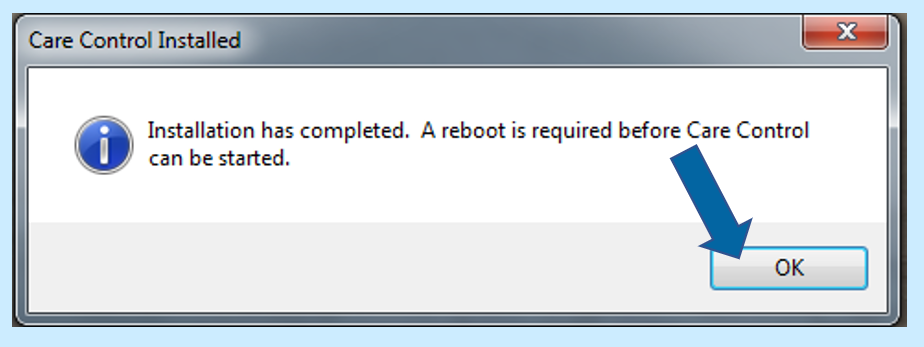
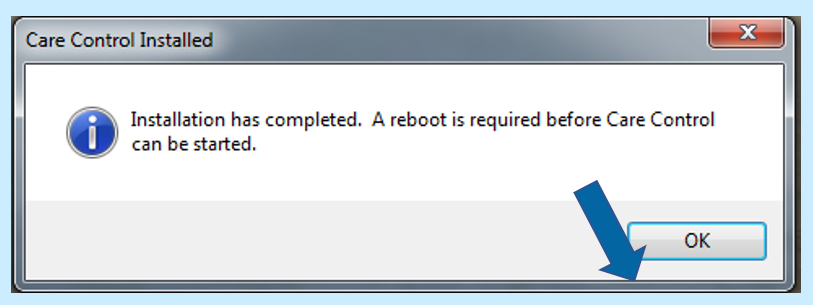
Once completed, your computer will now restart, so if you have any unsaved documents, save and close them now. When ready to restart, select OK.
When your computer has restarted you will need to alter your settings so that your computer knows which version of Microsoft Access to use. To do this:
- Open Windows Explorer – the yellow folder which is usually located on the taskbar at the bottom of your screen
 At the top of Windows Explorer there will be a text bar where you can enter a specific path
- In here enter C:Program Files (x86) Microsoft Office Office14 and press enter
- This will open a folder full of Microsoft Office 14 files. You will need to locate a specific file called MS ACCESS
 Once you have found MS ACCESS, double click to open it up
 - A Microsoft settings box may now open – if it does, select Use recommended settings and then select Okay
- You may now once again be prompted to enter the administrative password to continue
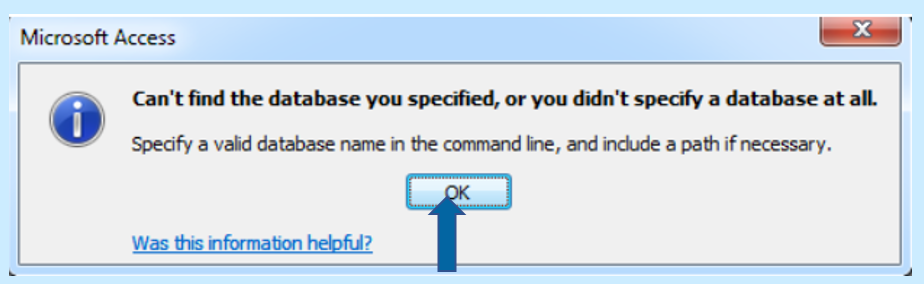
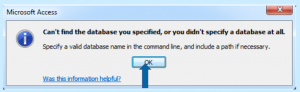 A Microsoft Access program will now open with the message above:
 - Select OK
- Return to your computer’s desktop and double click on the Care Control Icon once again
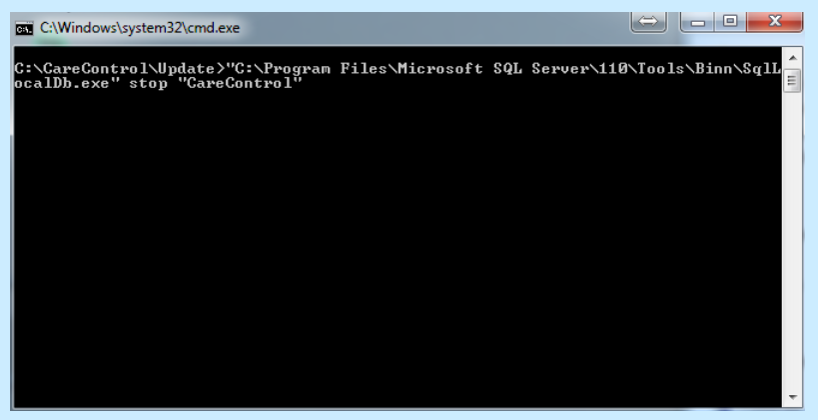
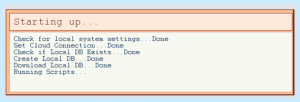
- You may now have a black box appear with writing. This is creating your localDb and is normal – once it is finished it will disappear
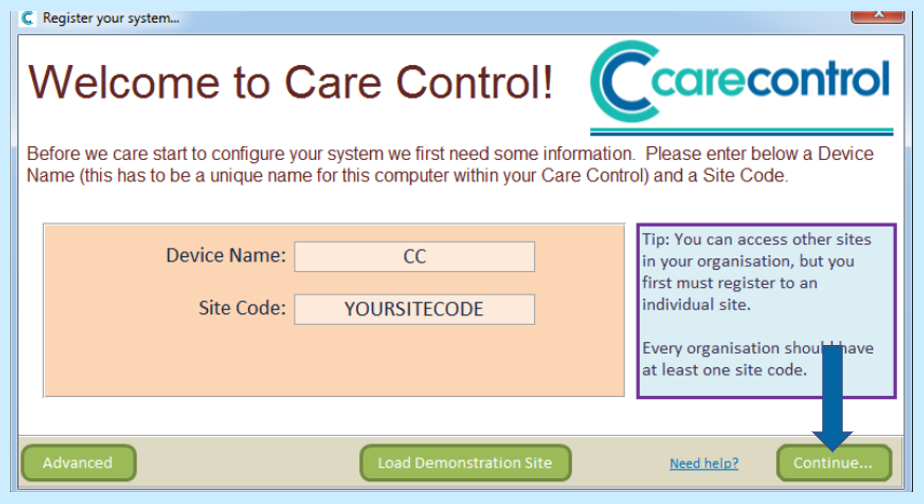
- Enter your device name and site code – your device name can be anything you want it to be, e.g. the name of the person using this computer or the name of the computer
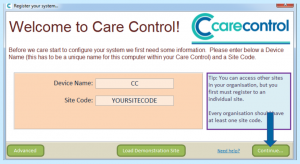
- Select Continue
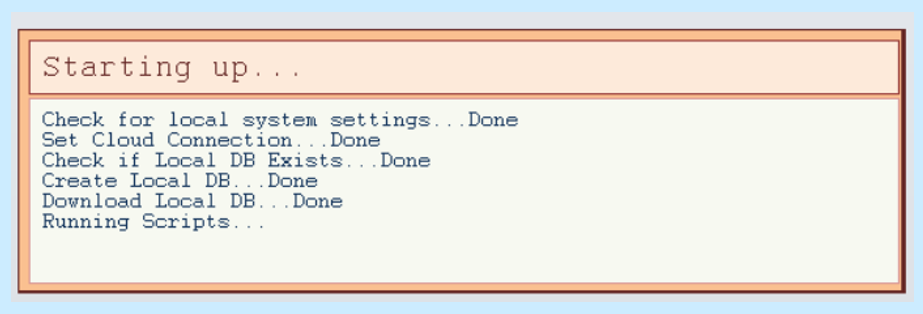
- Care Control will now load your site
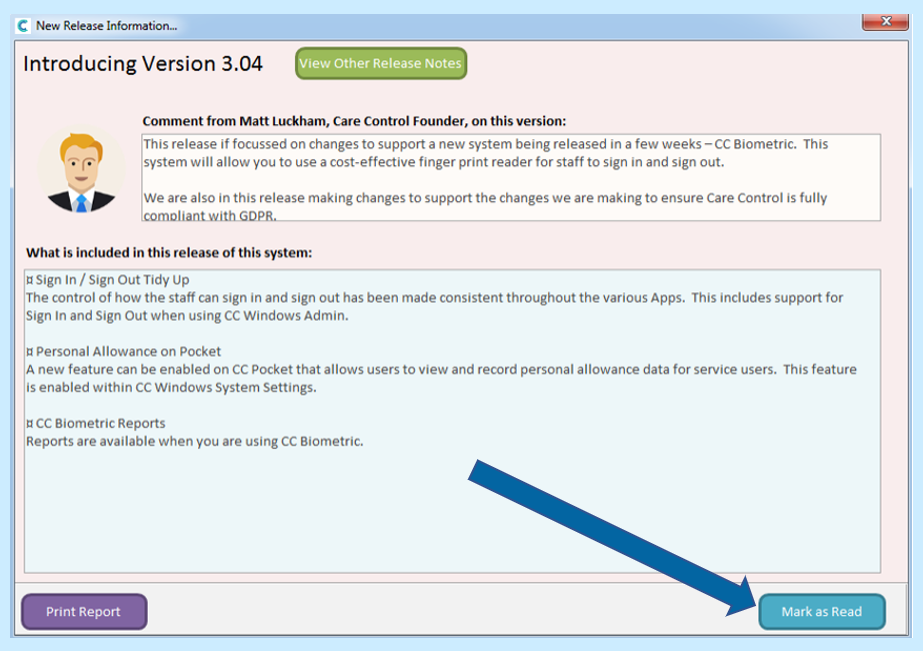
- Once completed, you will receive a message with any changes since the latest update

- Select Mark as Read once you are ready to continue
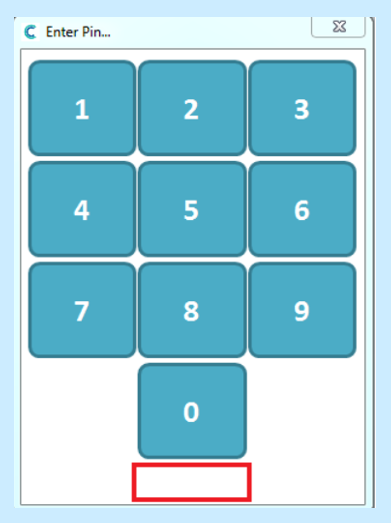
- Once set-up is complete you will be greeted with a PIN screen
Reasons why Care Control Installation may have failed
- Your computer was unable to create a local DB
You can do this manually by opening your Windows Explorer and entering the following path C:CareControlUpdate. Double click on the program called sqlstart. A black command prompt window will open and create the Local DB. Once the black window closes, retry opening Care Control.
- Your computer doesn’t meet the minimum requirements for Care Control Windows.
Care Control Windows requires a Windows (Windows 7 or later) 64-bit operating system and at least 4gb of RAM to work. You can check your computer’s specifications by opening a file called System in your Control Panel.

- You are on a server environment
If your computer is on a server, Care Control Windows requires the user to be on a local account.
If Care Control still will not open after checking the above, please contact support on 01822 738100 and press 1 for support.