![]()
*Before building any Templates and allocating Shifts you will need to go into Settings and set your Staff Roles, Shift Templates and say whether or not you require Filter Sets*
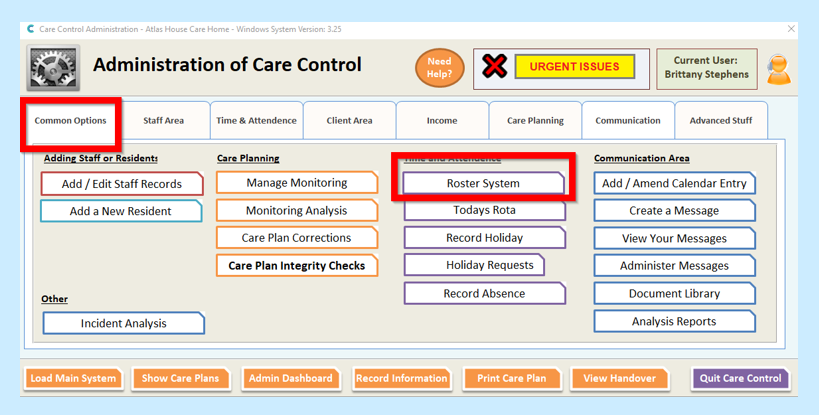
First you will need to go to your Full Admin page and select Roster System on the Common Options tab.
Then select Your Templates and then Add New.

Enter a name for your Template.
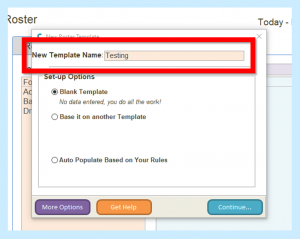
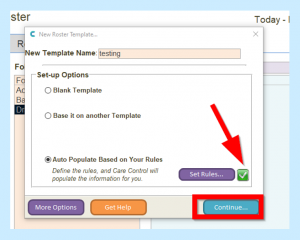
You will then need to select one of the following:
Blank Template – No Data – you do all the work.
Base it on another Template – you can choose to base on a template you already have in place.
Auto populate Based on Your Rules – You define the rules and Care Control will populate the information for you.
**You will need to select Set Rules for Auto set**
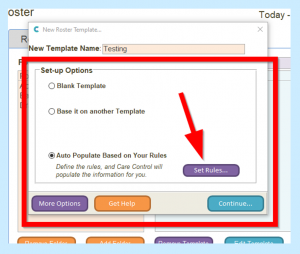
For Auto Populate Based on your Rules, follow these steps…
After selecting Set Rules, you will then see this screen.
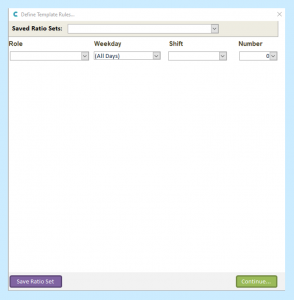
Here you will need to select the Role, the Weekday, the Shift and then add in how many staff of that role you require on that shift from the drop-down boxes.
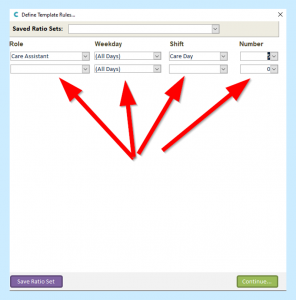
Once you have added all staff you require, select Continue.

You will then see a green tick next to Set Rules. Select Continue.
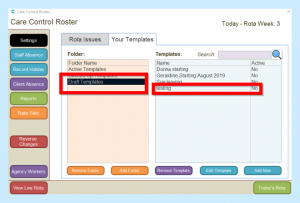
You will then see your template under Draft Templates.
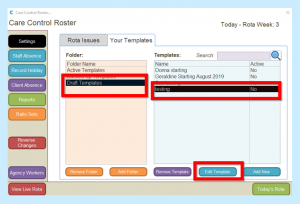
You will then need to go into your template to add staff to their shifts.
** If you do not have fixed shifts you can skip this bit! **
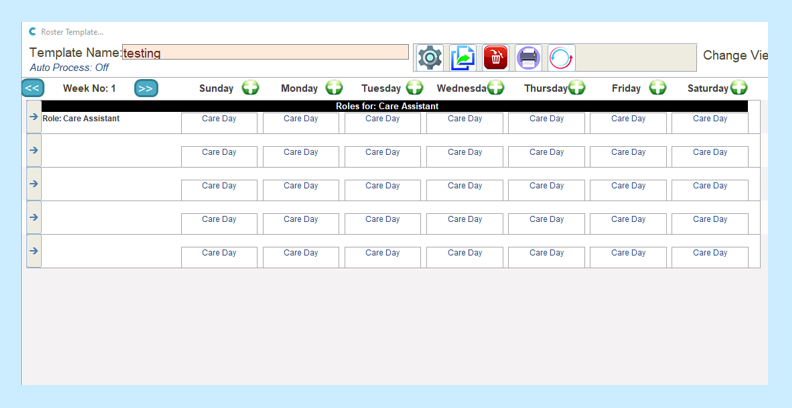
To go into your template, you will need to select it and then select Edit Template.
You will then see your templated Rota, showing your shifts that need staff allocating to them.
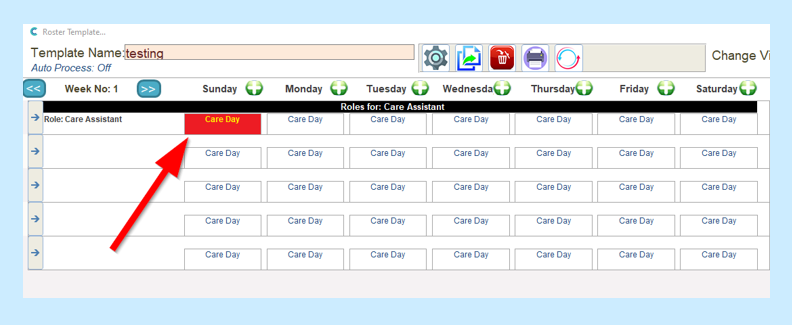
To allocate staff to a shift
Select the shift cell by clicking on the cell which will change it to red.
When you select the cell, you will see the smart board to the right of the screen.
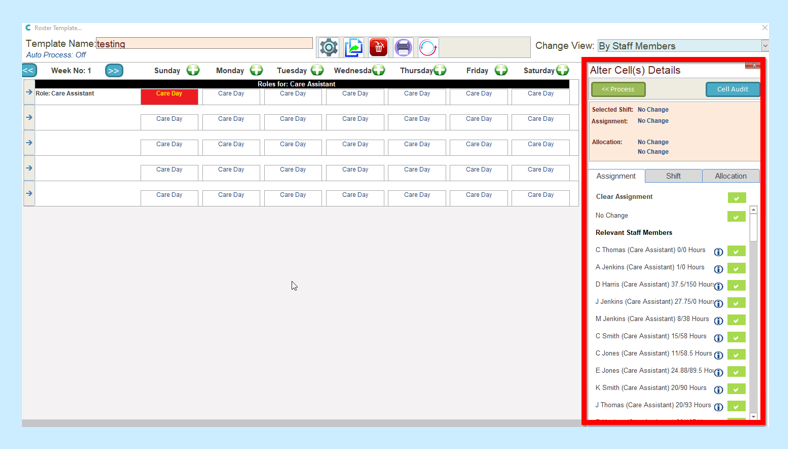
You will see the members of staff that are most relevant for the shift. Select the member of staff you require (you can scroll down to see other roles and other members of staff).
Select the member of staff by clicking on the green tick next to their name – you will see their name appear in the shift box below.
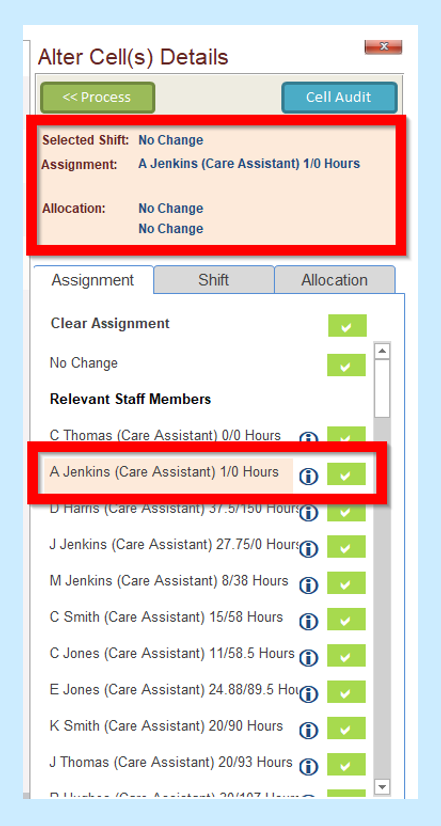
You then need to select the Shift following the same process.
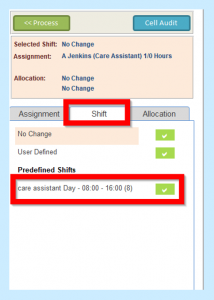
You will also see an option for User Defined. Here you can add the hours you wish onto the template, for example you may want to add a carer from 11am-3pm. Once you have selected the Shift, you will again see this in the shift box.
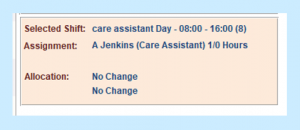
Once you have chosen the member of staff and the shift you can select Process.
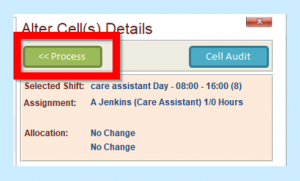
You will then see your member of staff on the Rota Template.
You will need to continue allocating staff to the shifts.
*If you do not know who is going to work a shift, leave it as it is because once your Rota is live you will be able to cover the shift*
You will now need to Process your Rota to make it live – see above.