The Document Library is a useful feature for creating easy access to important documents for your staff. The Library can be accessed through the main system and the Mobile app. In this section we will cover how to upload single documents to the Library.
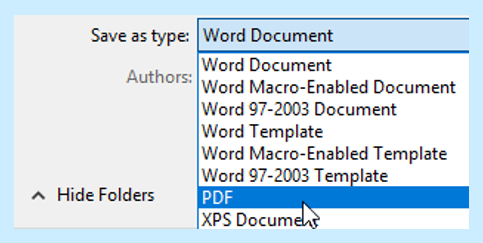
In preparation for uploading the document, make sure it is in a form that is readable on both a PC and a tablet device. Saving documents as a PDF ensures that this is possible.
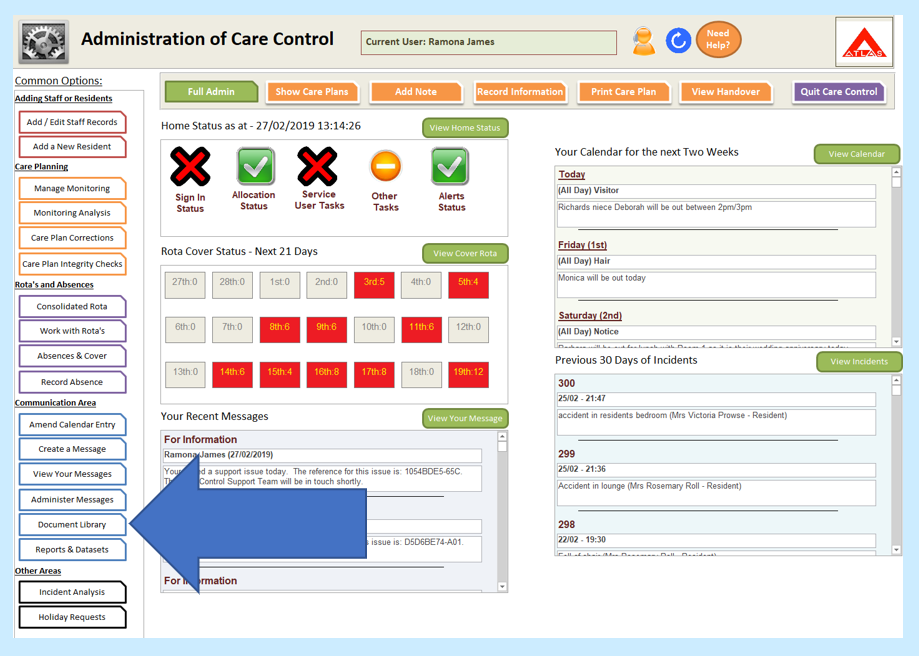
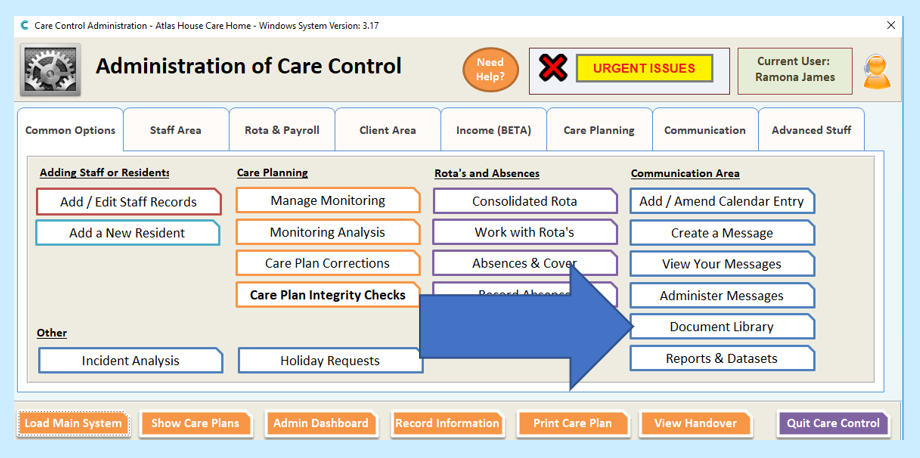
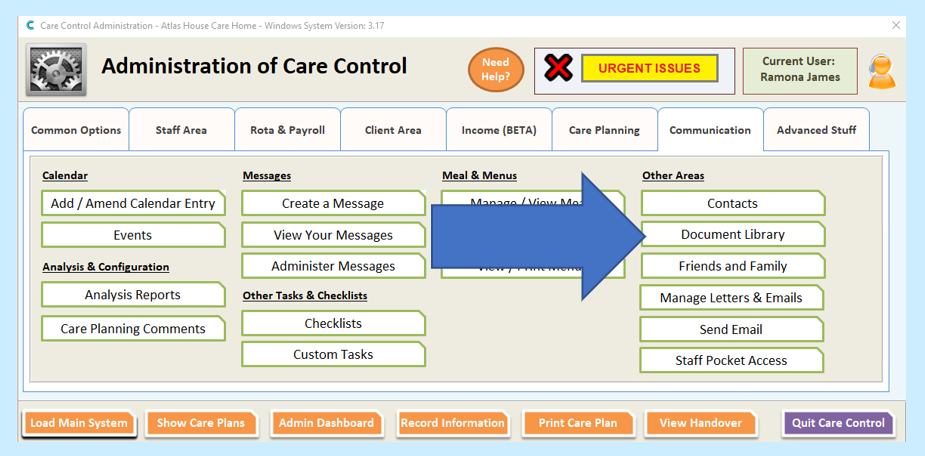
When your document is ready, open Care Control and head to the Document Library. This can be accessed through three different areas – the Admin Dashboard, Common Options in Full Admin and Communication Area in Full Admin:
Admin Dashboard:
Common Options in Full Admin:
Communication Area in Full Admin:
A new window will open for the Document Library:
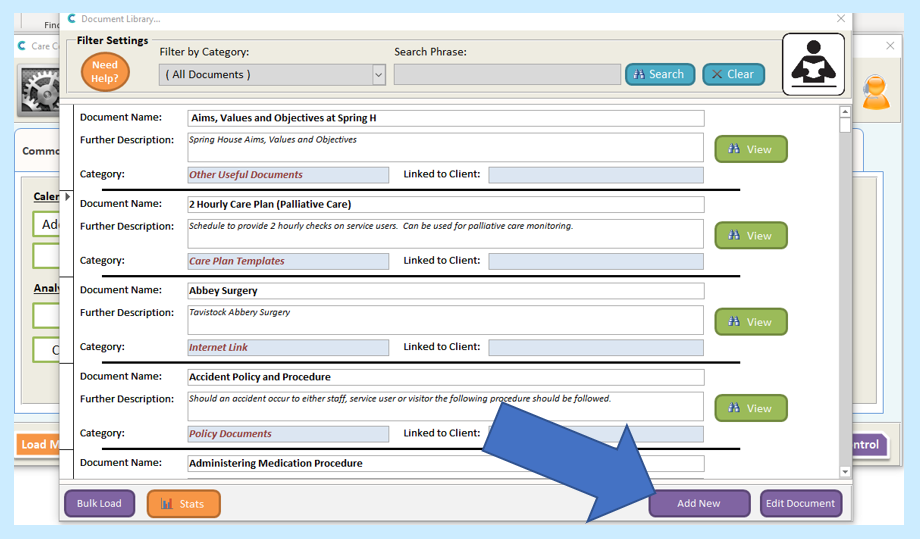
To add a new document to the Library, select Add New in the bottom right corner.
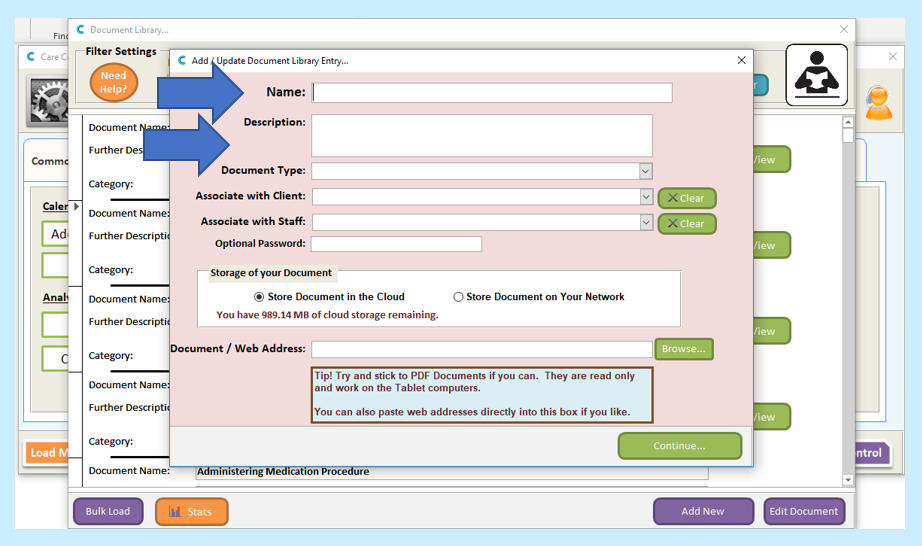
Make sure that you Name the document clearly and precisely. The Description of the document will appear with its name in the Document Library, explaining what the document is about.
Document Type has several options for use with filtering when you later need to search for a document.
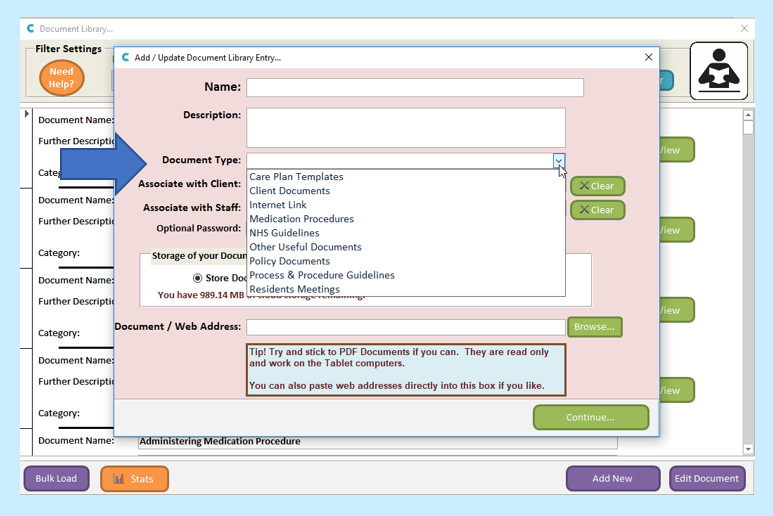
These options can be added to or edited through the Document Library Types in Reports & Datasets as follows:
Select Reports and Datasets:
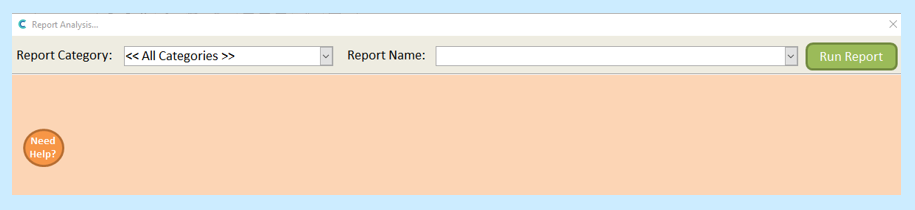
This can be found on the Admin Dashboard (bottom left) and on the Full Admin screen (bottom right). You will then see the Report Analysis screen:
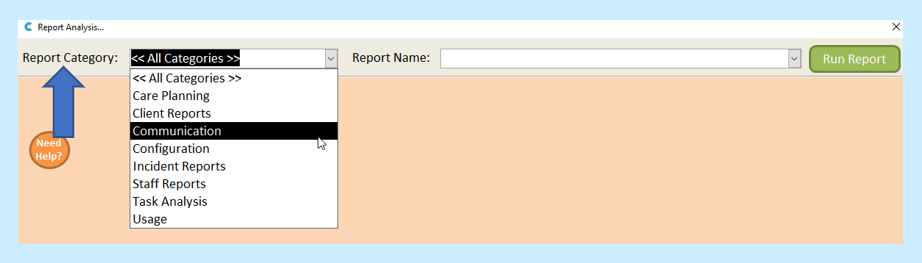
Select Communication in Report Category:
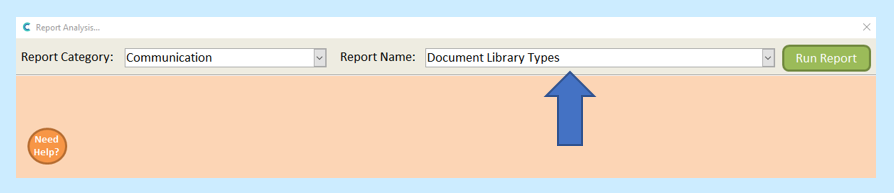
The only choice in Report Name will then be Document Library Types:
Select Run Report:

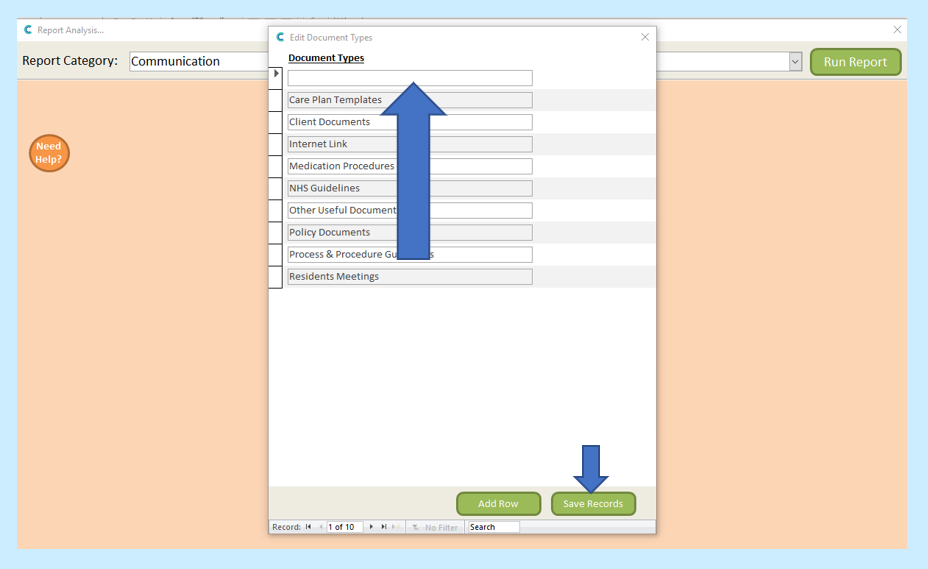
And the Document Types will appear.
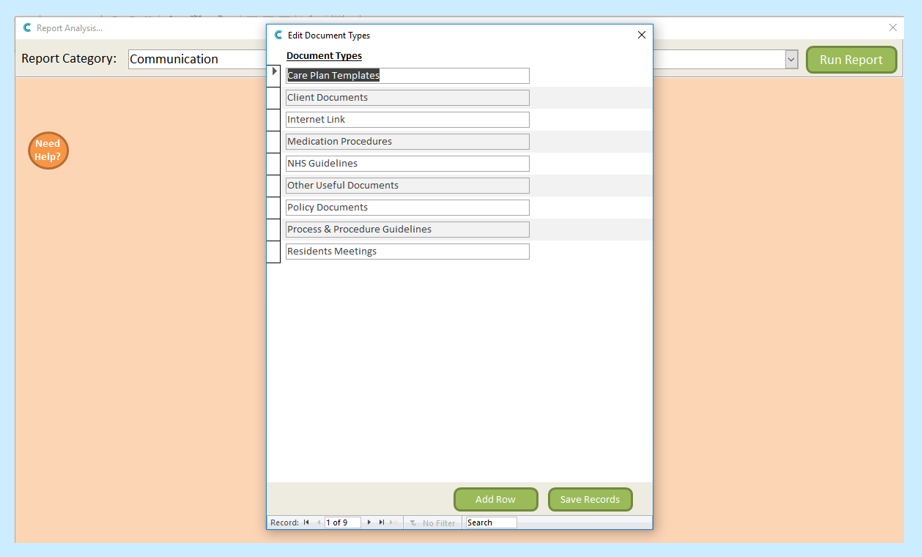
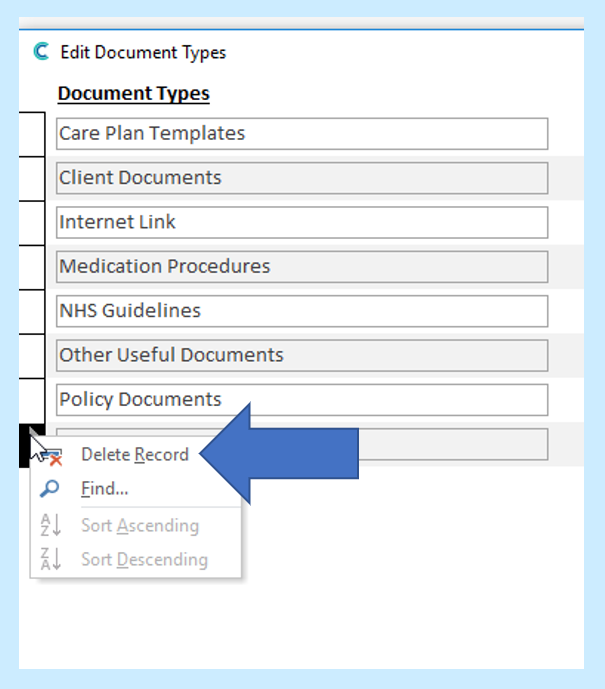
If you wish to REMOVE a document type, right click on the box to the left of the type you wish to remove and select Delete Record:
If you wish to Add a new document type onto the list, select Add Row.

A blank box will then appear in which you can type in your new Document Type name. Just add the new name and select Save Records.
Once you are happy that you have all the Document Type names that you require, return to the Document Library and select Add New which will bring you back to the Add/Update Document Library Entry screen:
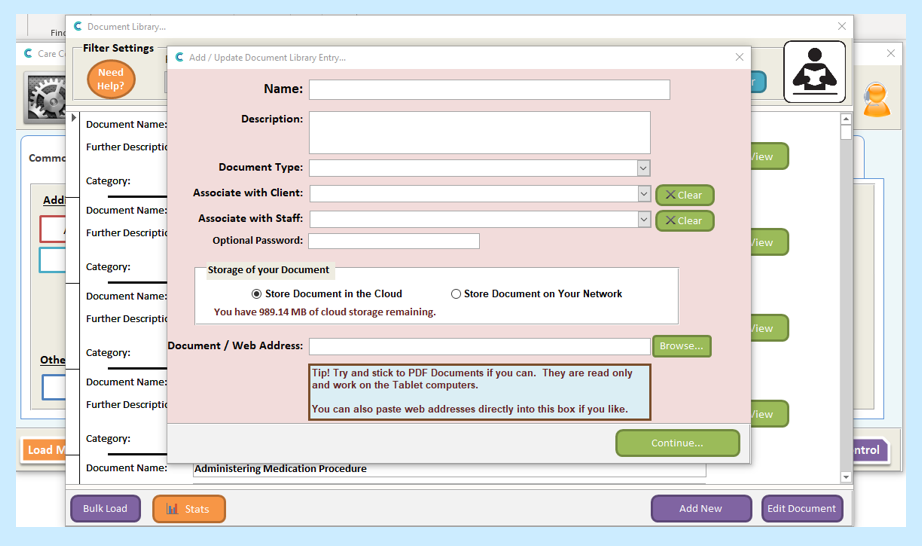
You can now enter the details of the new document.
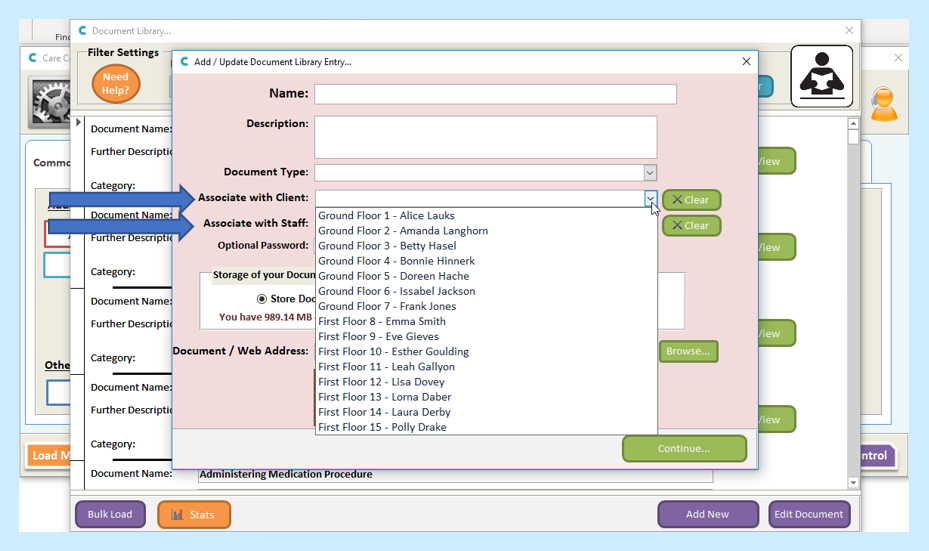
The document can be associated with a Client/Resident or a member of Staff. When you click on the drop-down menus, a full list of relevant names will appear:
If necessary, you can add a password to the document.
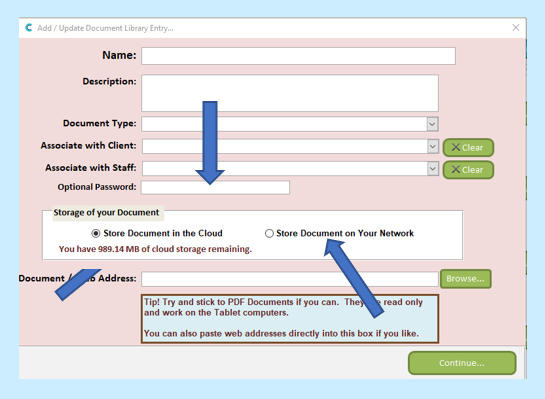
You can also choose where the document is stored. If you select Store Document in the Cloud then the document will remain in your database until the document is deleted from the Library.
Selecting Store Document on Your Network means the system will look at the location the document is stored within your own computers. This is the best option if you are linking a website.
Document/Web Address is where you will enter the location of the document on your computer for upload, or you can paste a web address to a site on the internet. If you select Browse you will be able to search through the files on your computer and/or network:
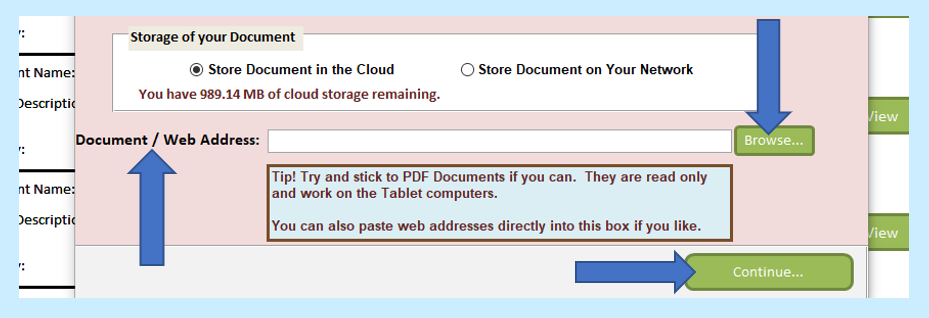
When the details are completed select Continue.
You will be taken to a new window which will show a summary of the information you have entered to confirm it is all correct.

If everything is OK click Continue. This will start the upload of your document. When this is complete, a dialogue box will open to tell you that the upload is complete.