![]()
Single Custom Form Monitoring
Contents
Support with Custom Monitoring
Step 1 – Basic Monitoring Details
Step 2 – Single Form – Header / Footer Options
Display Previous Saved Entries
Step 3 – Single Form – Structure
Display Note to Staff Member after Save
Introduction by Matt Luckham
The Single Custom Form Monitoring – Version 1.0 – is an important new feature that has been added in this January 2020 release.
Care Control contains over 40 specific forms to record monitoring or risk assessments. However, for many of our customers they would like different forms or to use specific forms they have already designed.
Any forms designed within Care Control must align to our strong principles of auditing and management oversight. CC Mobile is the only system you can use to complete a Single Custom Form.
Support with Custom Monitoring
Designing custom forms can be a complex operation. This document provides detail on how you can do this, however if you get stuck or need help please contact our support team at support@carecontrolsystems.co.uk.
Basic Structure
A Single Custom Form is a two-column layout containing questions and responses. Each response has a score:
- Header Settings
Contains the core settings for the form. - 1 or more Sections
Each section defines how the two-column layout is structured. This includes the width of column 1, the text and separator line.
- 1 or more Questions
Each Section contains any number of Questions. - Score
You can assign a score to any of the question responses. This can be mapped to a Text or Image and displayed. - General Notes
The output from the form can then generate a note that is added to the Care Plan. The note format can be structured based on the responses entered.
Creating a Single Custom Form
To start to create your custom form you need to use CC Windows. As an administrator you have access to an area called Monitoring Types: –
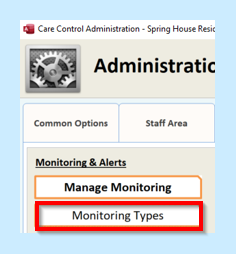
Select this option and you will see all the monitoring types on your system: –
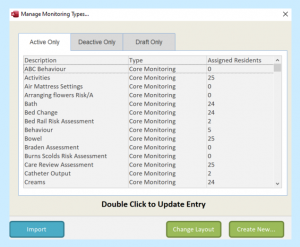
Select Create New to add a new Monitoring Type.
You can then select 1 of 2 options: –
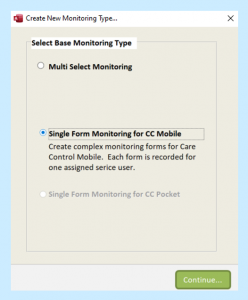
Select the 2nd option, Single Form Monitoring for CC Mobile. Select Continue.
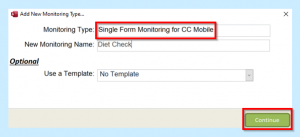
Here you can you enter your Monitoring Type Name. If you want to base this monitoring on another custom monitoring you previously created you can. Simply select this as a template.
Once you are happy with your name select Continue.
Testing Your Design
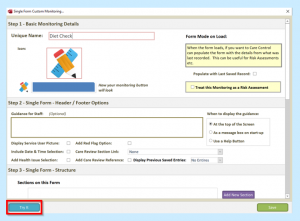
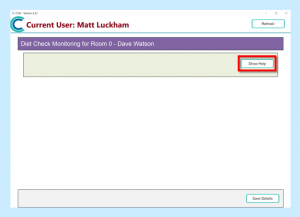
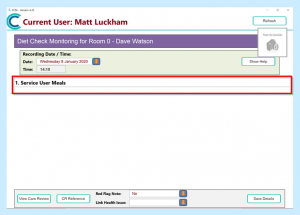
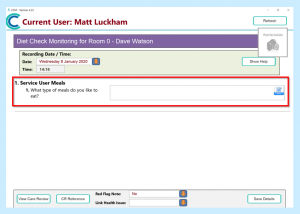
When your form first loads you have a number of basic settings. The first thing you should do is press the Try It button: –
This will load a representation of the form as it will look in CC Mobile. Remember, you can only complete a Single Custom Form using CC Mobile.
Select a Client to use as part of your test and select Continue: –
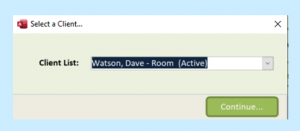
As long as you have the latest version of CC Mobile installed (4.33 or higher) the system will now load the form.
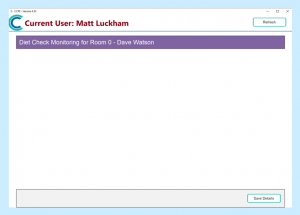
As you can see our form does not look very exciting yet! Keep this form open as we can now simply press Refresh as and when we change our form design in CC Windows.
Configuring Your Form
Step 1 – Basic Monitoring Details
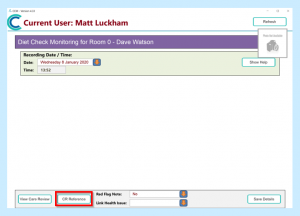
At the top of your form you have the first group of settings: –
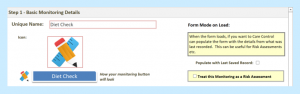
In this section you can: –
- Change the name
- Change the Icon
If you click on the Icon the system will load a screen for you to load a new icon. - Mark that you would like the contents of the form to be populated with the last saved record.
- Mark that this monitoring should be treated as a Risk Assessment
Step 2 – Single Form – Header / Footer Options
These are the core settings which can affect how your form will look: –

We will go through each of these options one at a time: –
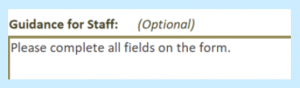
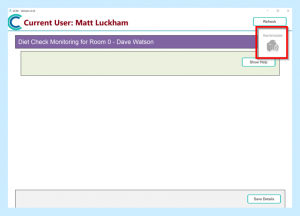
Guidance for Staff

This is information to help staff at the start of completing a form. If we enter some text in the guidance field: –
Select how to display this guidance: –

Make sure you select Save and switch to your CC Mobile Form and select Refresh.

If we change the guidance to: –

Switch back to CC Mobile and select Refresh: –
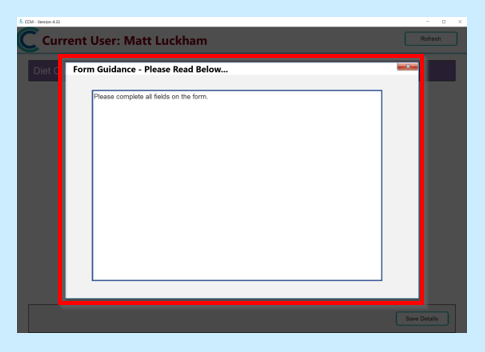
If we change the display guidance field to: –
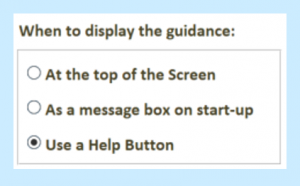
Switch back to CC Mobile and select Refresh: –
Display Service User Picture
This is an option within Step 2: –

Switch back to CC Mobile and select Refresh: –
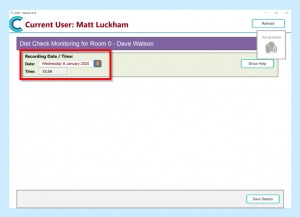
Include Date & Time Selection
This is another option within Step 2: –

Make sure you select Save and then switch to your CC Mobile Form and select Refresh.
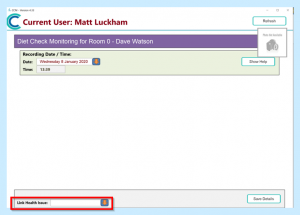
Add Health Issue Selection
This is another option within Step 2: –

This will allow you to select a service user health issue. Make sure you select Save and then switch to your CC Mobile Form and select Refresh.
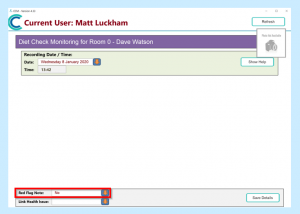
Add Red Flag Option
This is another option within Step 2: –
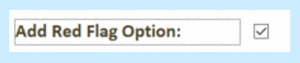
This will allow a user to mark any produced note as a Red Flag note. Make sure you select Save and then switch to your CC Mobile Form and select Refresh.
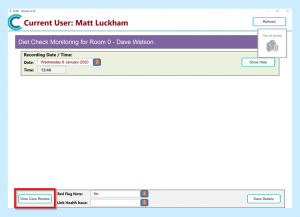
Care Review Section Link
This is another option within Step 2: –
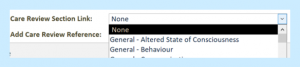
If you select this option and select a Care Review Domain, this will show as an option on the form. Make sure you select Save and then switch to your CC Mobile Form and select Refresh.
Add Care Review Reference
This is another option within Step 2: –

This will allow you to add a Reference tag option on the form. Make sure you select Save and then switch to your CC Mobile Form and select Refresh.
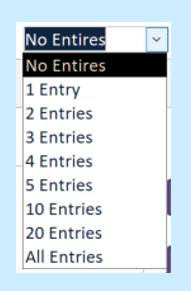
Display Previous Saved Entries
This is another option within Step 2: –

This allows you to display a set number of previously entered details on the form. You can select the following options: –
Step 3 – Single Form – Structure
This is the main body of the form. Within this area you define the Sections on the form, define the questions and responses.
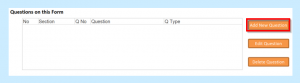
Sections on this Form
This is the area on the form that allows you to add, edit and remove sections: –

Adding a Section
When you select Add New Section you will see the following form: –
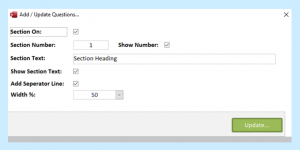
We advise that you enter a unique section number so you can simply identify this section.
The Width % option is how wide the first column is in relation to the overall width of the page. The default is 50%.
Once you have updated your section details you can save any changes and then switch to your CC Mobile Form and select Refresh.
Questions on this Form
Once you have added a section you can then add a question: –
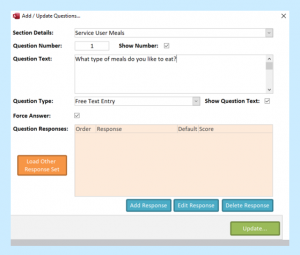
Adding a Question
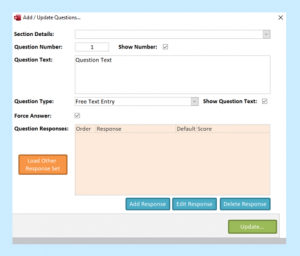
This is the area that you use to define the questions that will be displayed on each section. You need to link a question to a specific section.
It is important that you enter a Question Number and Question Text: –
Update your question and then switch to your CC Mobile Form and select Refresh to see this question.
Different Question Types
There are six different question types in version 1.0 of the Single Custom Form Monitoring: –
Free Text Entry
This question type allows for an unlimited entry of text against the question. It appears on the form as follows: –

The width of this field is set to the width of the second column of the section.
Drop Down Select
This displays a drop-down option on the form based on the responses you have entered. It appears on the form as follows: –

The width of this field is set to the width of the second column of the section.
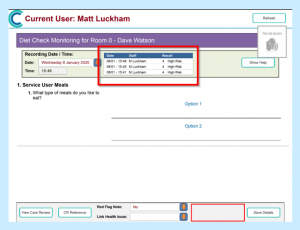
Single Select Horizontal
This displays each of the response options in a horizontal format. Only one may be selected: –
![]()
Single Select Vertical
This displays each of the response options in a vertical format. Only one may be selected: –

The other two question type options are the Multiple Select variants of the Single Select options. In these types you can select more than one value.
Responses
Apart from the free text entry type, all other questions can support multiple responses. A response can be a text or an image. Images are not supported on the Drop Down Select option.
You can add a Response via the Question Edit Screen: –
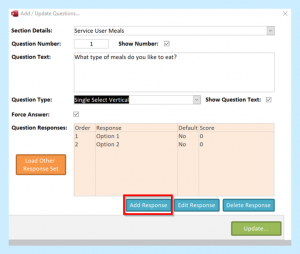

On this screen you can enter some response text or a response image, mark the response as a default response for that question and assign a score.
Response Images
You can select a Response Image option: –
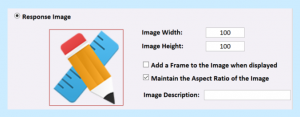
If you select this option, you can load an image for this response. We recommend that you enter an Image Description as this can be used to identify this as a response.
An important option is if you want to Maintain the Aspect Ratio of the Image. This will keep the image displayed in the correct dimensions when shown on the form.
Loading Other Response Sets
From the question edit screen you can select to Load Other Response Sets: –

This displays a screen that allows you to load responses: –
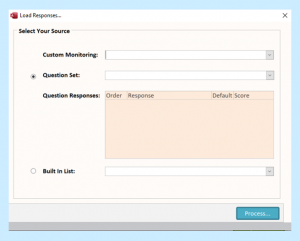
Through this screen you can load previously used responses, or responses from a built-in list.
Step 4 – Single Form – Output
The final section on the Single Custom Form deals with the Output: –
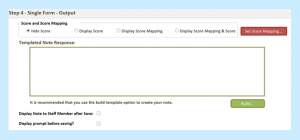
Scores and Score Mapping
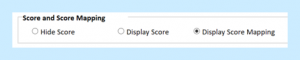
The first section within this area deals with the score generated through any of the responses: –

You can select how to display the score on the page. You can test how this works by saving your changes and testing the score on the CC Mobile form: –
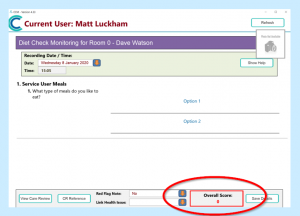
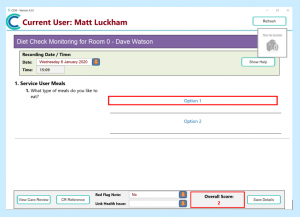
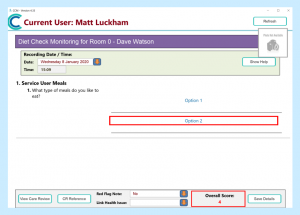
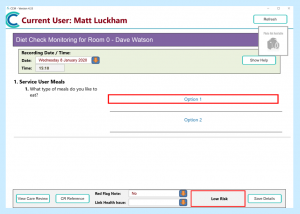
In our example, we have assigned the values of 2 and 4 to the two response options for question 1: –


On the form we select a response and the correct score will show: –
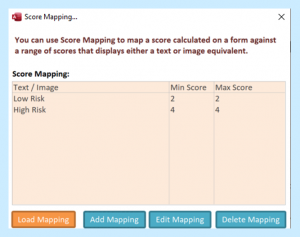
Display Mapping
You can select to display an alternative value based on the overall score value: –

From this screen you can Add a New Mapping option: –
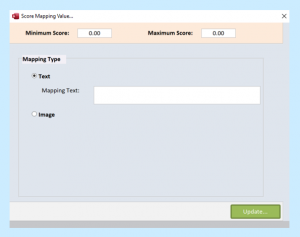
The mapping must have a range of values. A minimum score and maximum score.
You can select to display text or an image to link to this mapping.
In our example we will add two mapping options – one that equals value two and one that equals value four.
If we select on the form to Display the Score Mapping, when we select a response that matches the mapping range, this value will be displayed: –
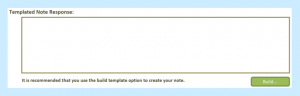
Templated Note Response
The main output from a Single Form is a Note that is added to the Service User’s Care Plan: –
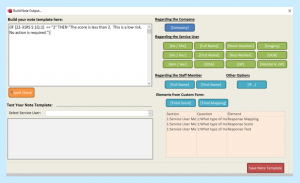
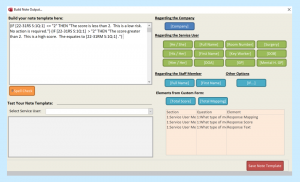
You can Build a note template by selecting the Build option: –
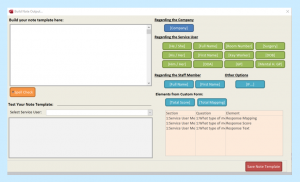
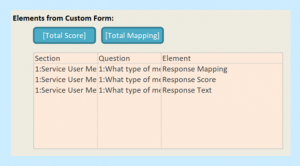
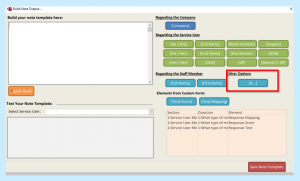
This is similar to other note template builders within Care Control, however in this screen you can also embed additional items that are only associated with the custom form: –
Using If Statements
You can use If Statements within your Note Template. When you select the If option you can enter an If Statement: –
This loads the If Building Screen: –
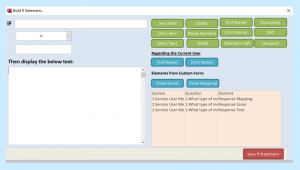
Building an If Statement is easy. Click in the first blank field and then select one of your Question Elements: –
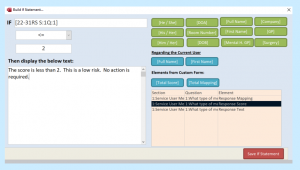
Here we have selected the Response Score for Question 1 as the test. If we select Save If Statement it is then added to the Note Template: –
We can then add another If Statement: –
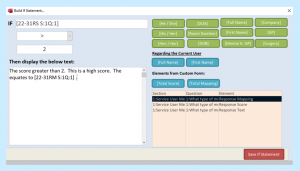
Here we are testing the score again, and embedding the mapping value into the displayed text.
Save your Note Template and test it: –
We test it with a value of 2 and we get this note: –
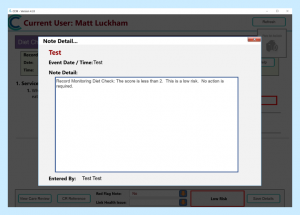
We test it again with a value of 4 and we get this note: –

Final Options
There are two final options associated with the Output from the form: –
Display Note to Staff Member after Save
This option is a yes / no switch at the bottom of the form: –

If this is selected the Custom Form will display a copy of the note that has been saved: –

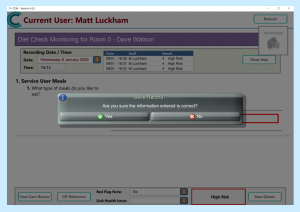
Display prompt before saving
Another Yes / No field that will display a prompt to the user before saving: –

Using your Monitoring
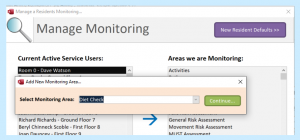
Once you have created your monitoring you can Activate it: –
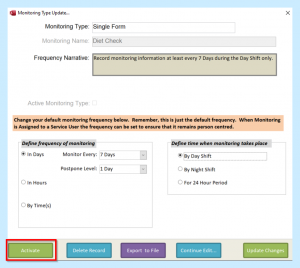
Once activated you can use it through Manage Monitoring to assign to service users: –