First, we need to go to the Roster System under the Time & Attendance Tab
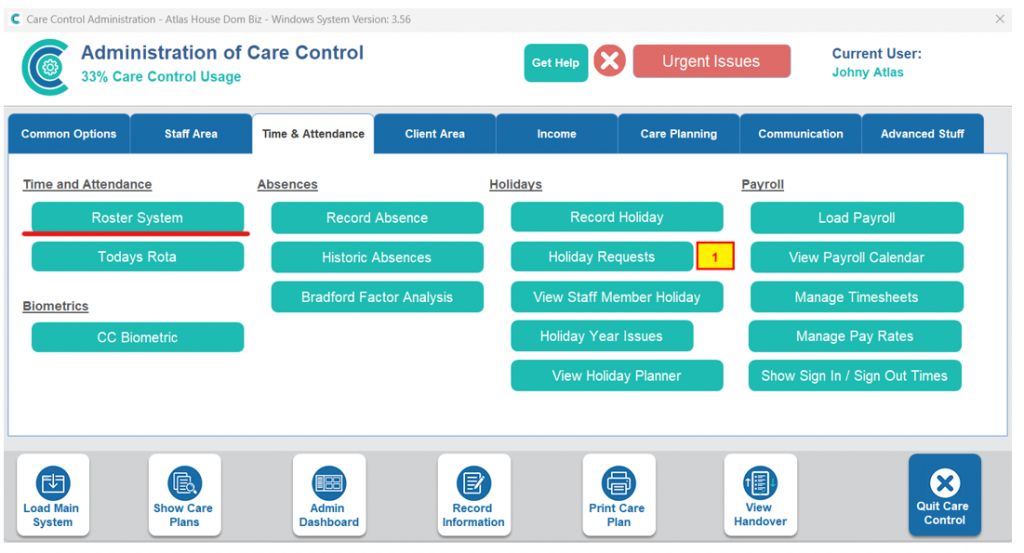
In the Roster System- select “Allocation Groups”
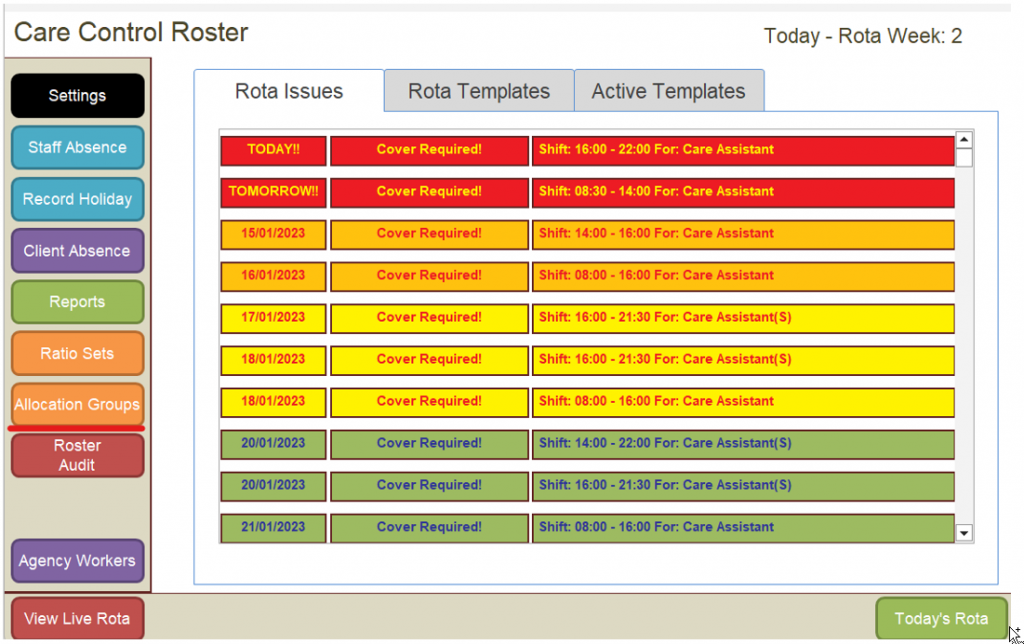
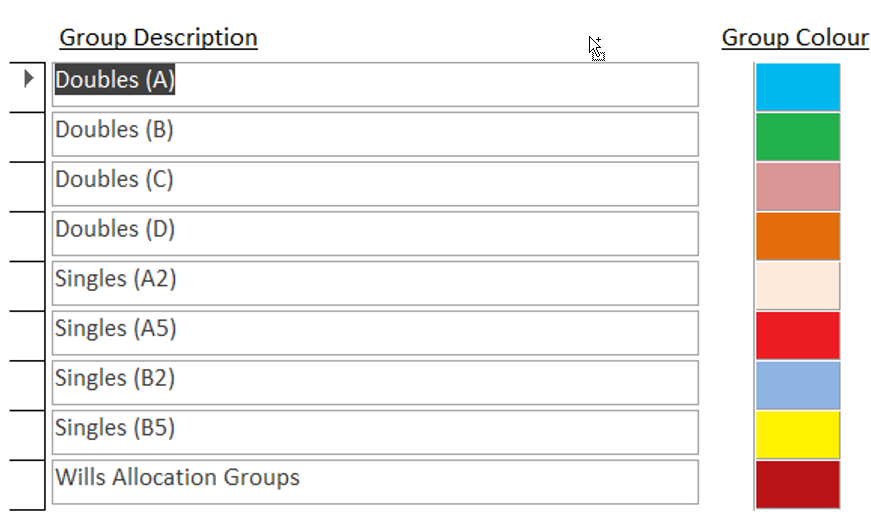
This will take you to the Rota Allocations Treatment Screen. Here you can bulk load allocations to visits. First, however, we need to create our Groups.
First, we will create our Client Group
Select “Add Group”
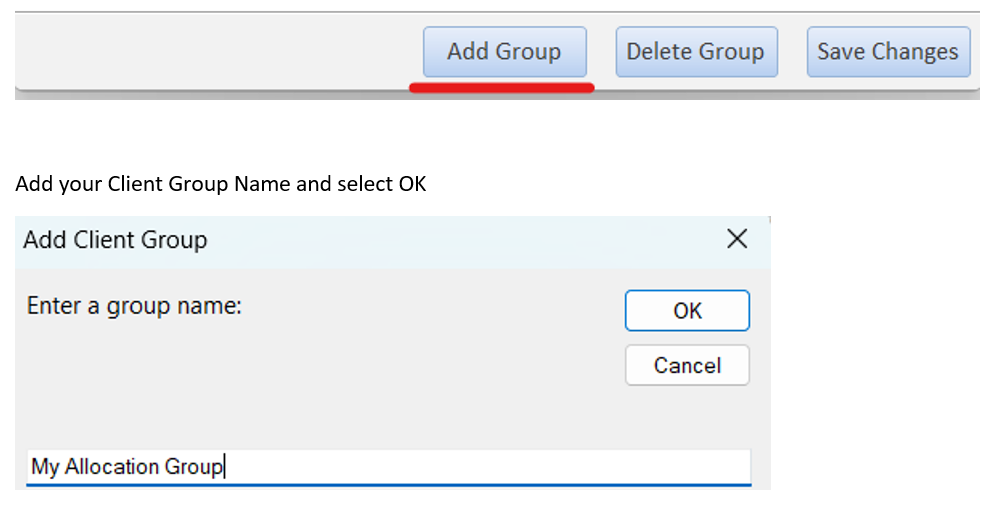
Add your Client Group Name and select OK
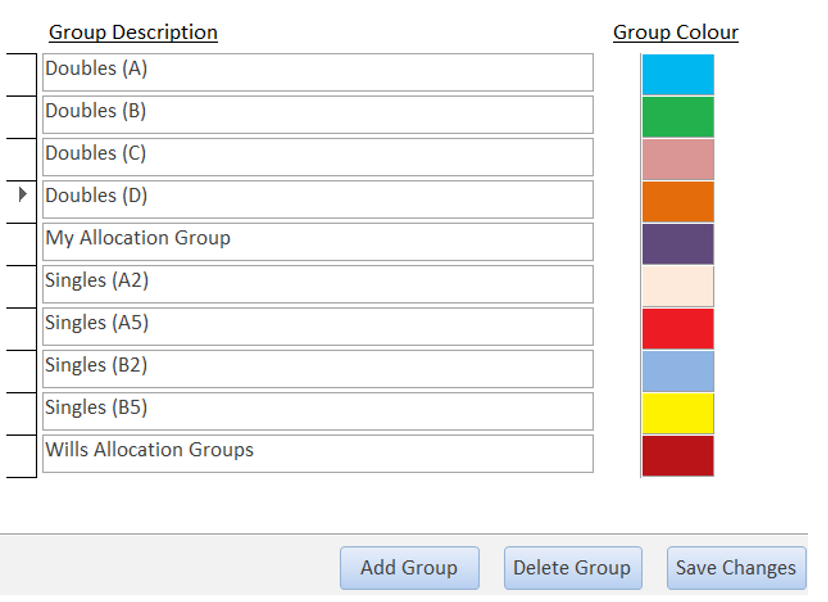
You can select a colour to assign to your client group by clicking on the coloured square to the right of your new group name. Select Save Changes and close the window. Here you can also delete groups if you have made one by mistake or it is no longer needed.
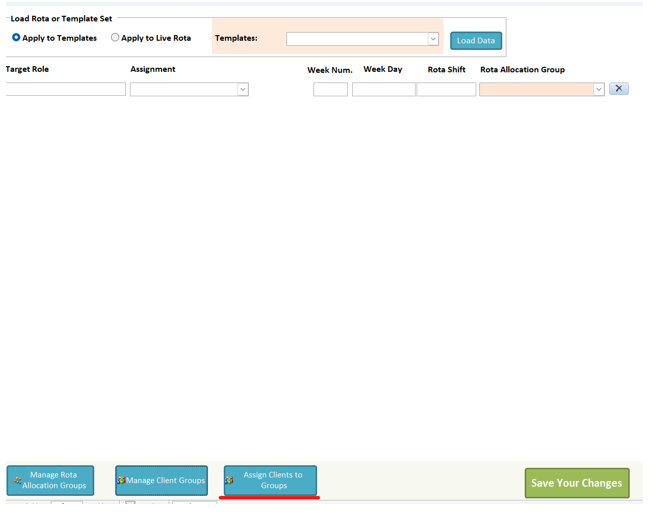
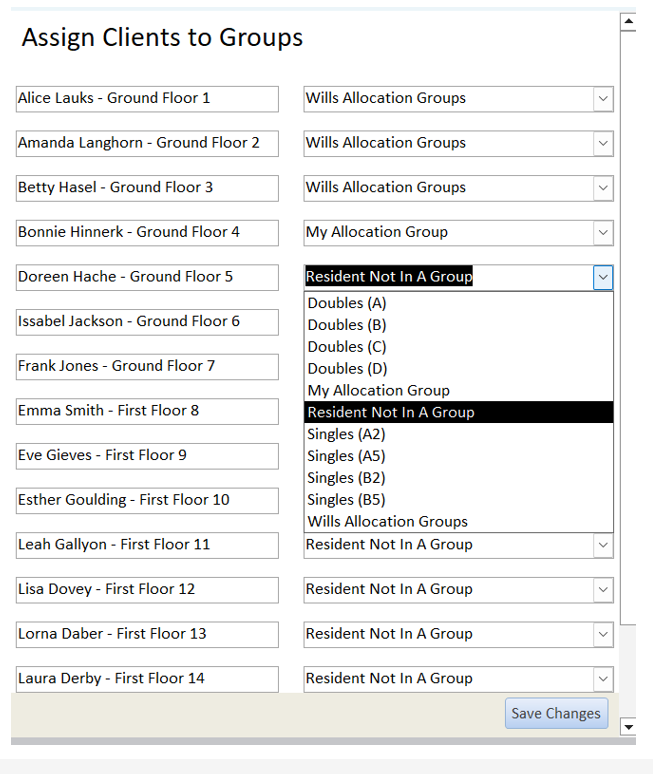
Next, we will assign some service users to the group by selecting “Assign Clients to Groups”.
Select your Client Group from the dropdown next to any of the clients you would like to add to the group. When you are completed, select “Save Changes”, select OK and then close the window.
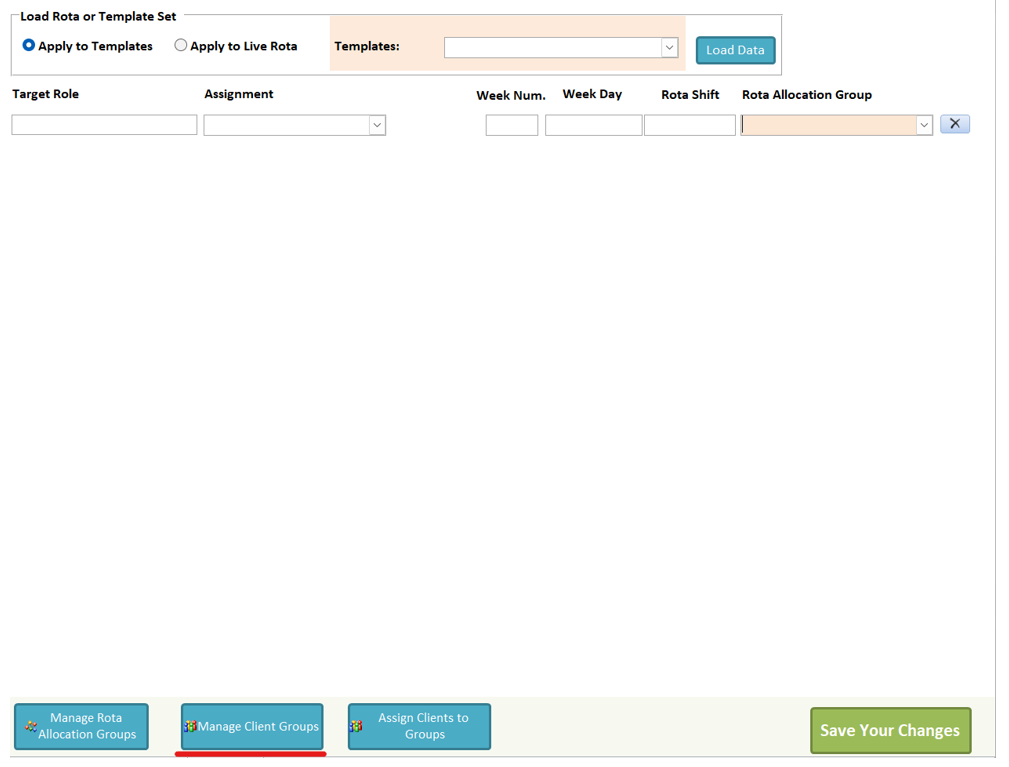
Now we assign the Client Group to a Rota Group. Select “Manage Rota Allocation Groups”.

Select “Add Group”. Similar to the client group screen, this screen enables you to delete unwanted groups.
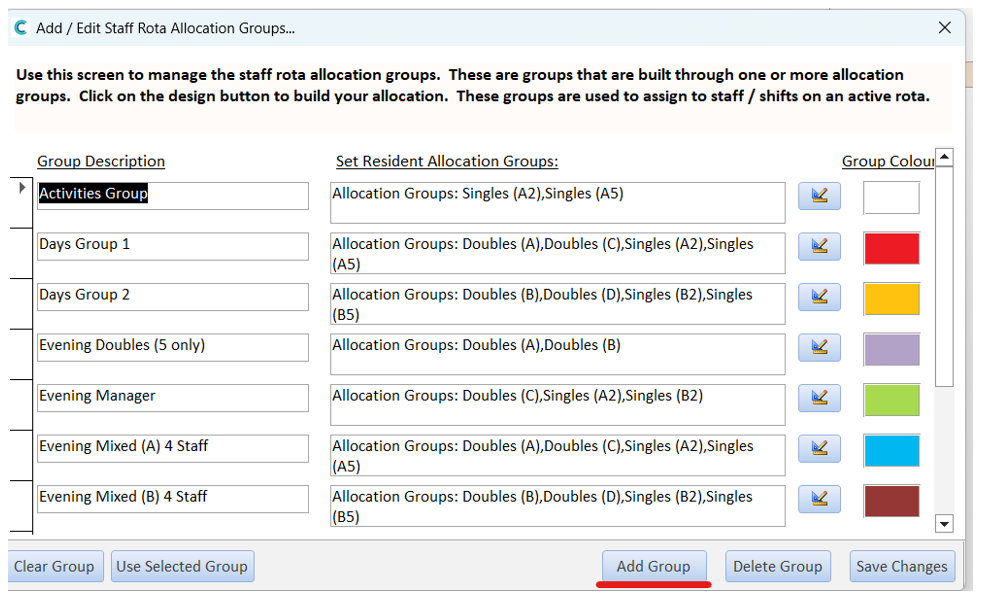
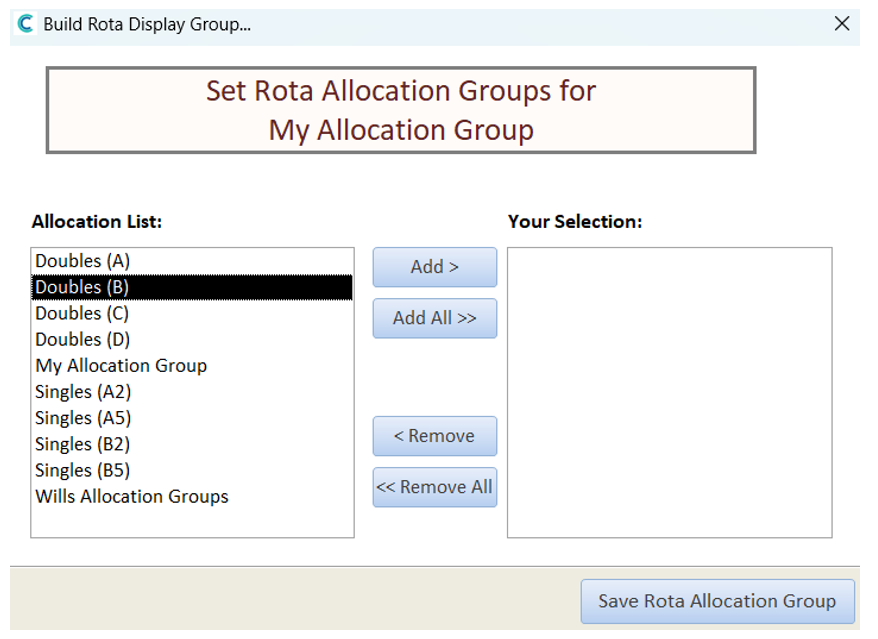
Name your Rota Allocation Group. This is what will show on the rota. Once named, assign your client group to your rota group by selecting the icon to the right of the empty box.

Add any client groups to your rota group by highlighting the group’s name and selecting “add”. You can also add all from this screen and remove groups if needed. When finished, select “Save Rota Allocation Group” and then Save Changes on the next window. You can then close the window.