
You may also find it useful to look at Altering and Customising Personal Care Drop-down Lists (which can be done in both Windows and Mobile).
To create Custom Monitoring, first access the Administration of Care Control screen on Care Control Windows.
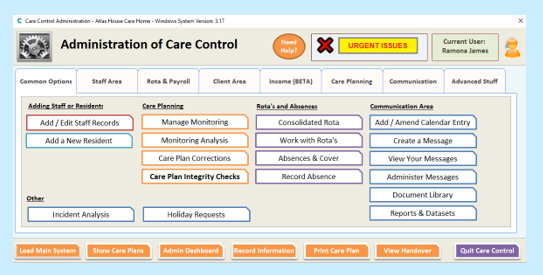
You can access this by selecting Admin Centre from the Main System screen:

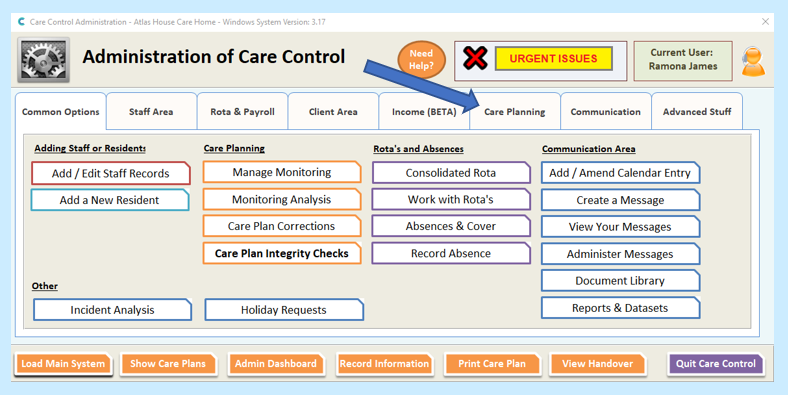
or by choosing the Full Admin tab on the Administration of Care Control screen:

Go to Care Planning.

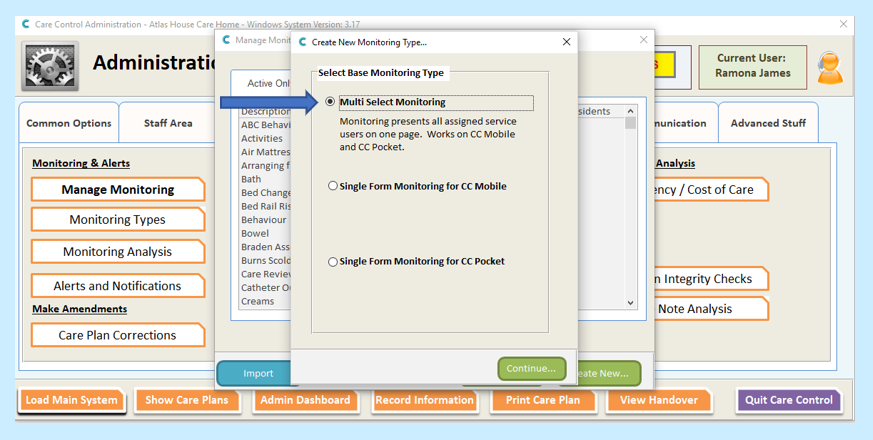
Select Monitoring Types and select Create New…

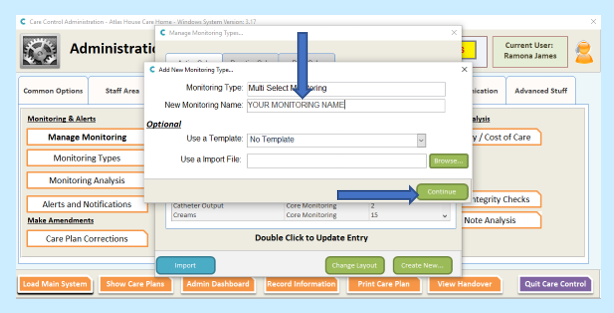
Select Multi Select Monitoring.
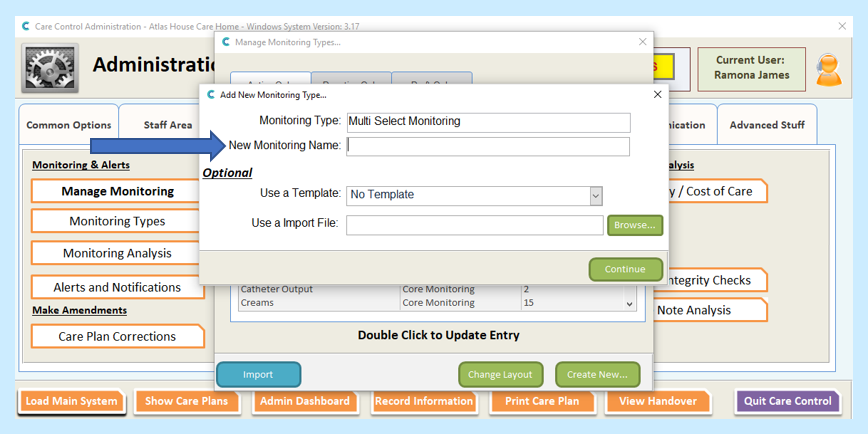
Enter your New Monitoring Name and select Continue.
On the next screen you will then be able to describe the monitoring and where you would like it to be displayed (either at the top of the screen or as a prompt that carers will need to acknowledge when recording care). This is Step 1 – Basic Details.
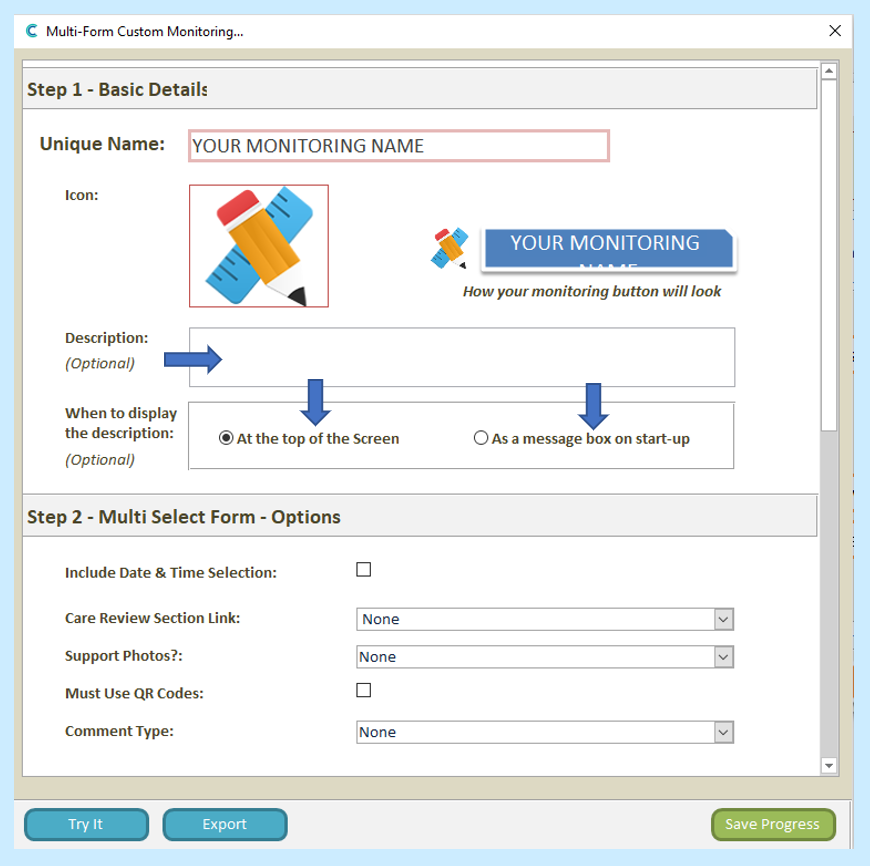
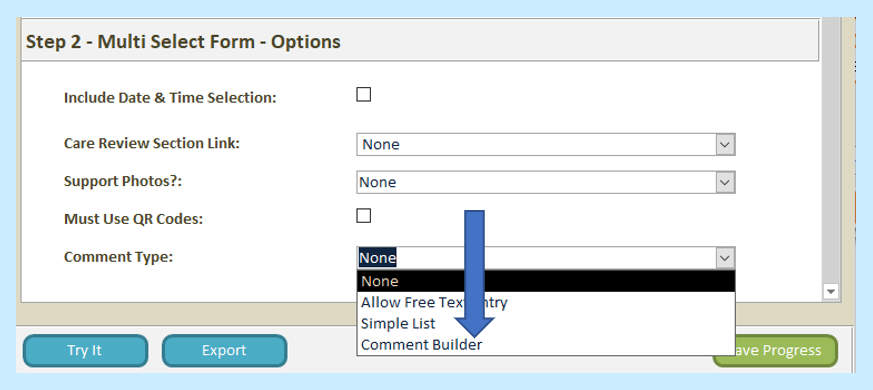
In Step 2 you can choose whether you would like staff to be able to enter a time that they completed the care, a link to a Care Review page and whether you would like to use Support Photos or QR codes for the monitoring.

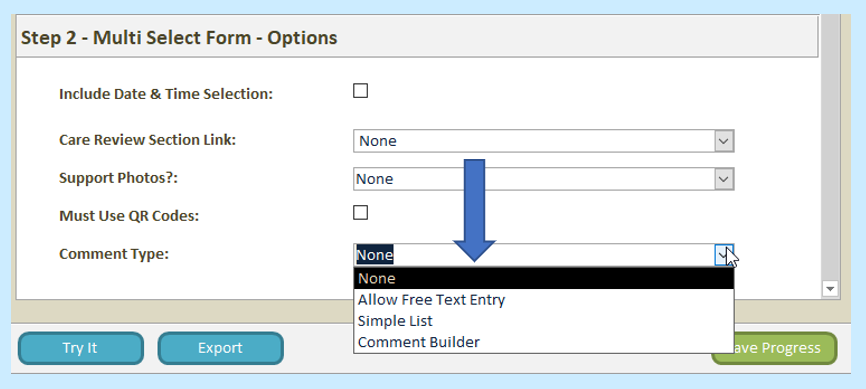
For the comment type you have a few options:
- Leaving the comment on None will allow staff to record that the monitoring has been done, but without needing to input any information
- Allow Free Text Entry allows staff to type their own note
- Simple List allows care staff to choose one option from a list (useful for monitoring areas that will only ever have one outcome)
- Comment Builder is the most complex of the options as here you can create multiple lists for staff to choose from and customise how you would like the note to appear.
So, for None/Allow Free Text Entry you do not need to select any further options. But, for Simple List and Comment Builder you will need to select or create a list for staff to use.
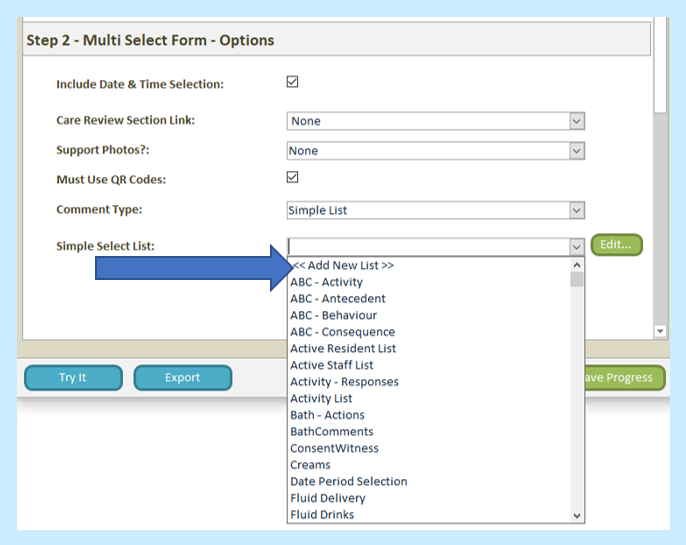
If you select Simple List, you will then see the Simple Select List drop-down menu appear from which you can select your desired option.
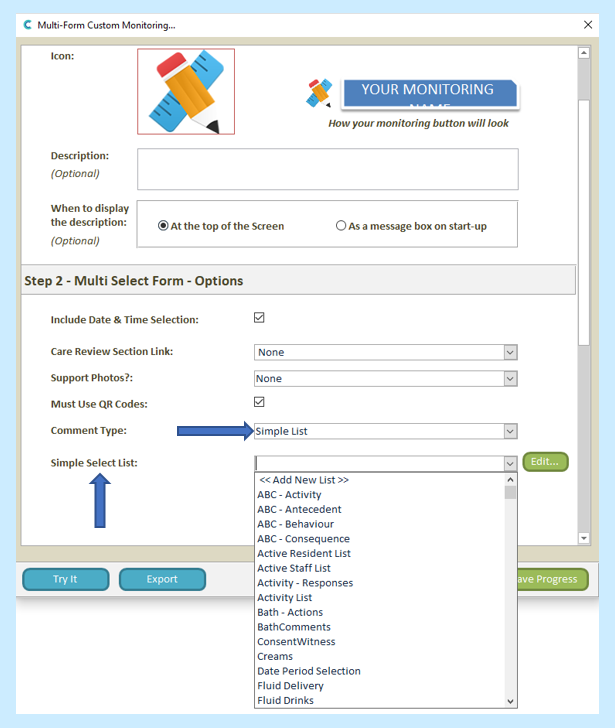
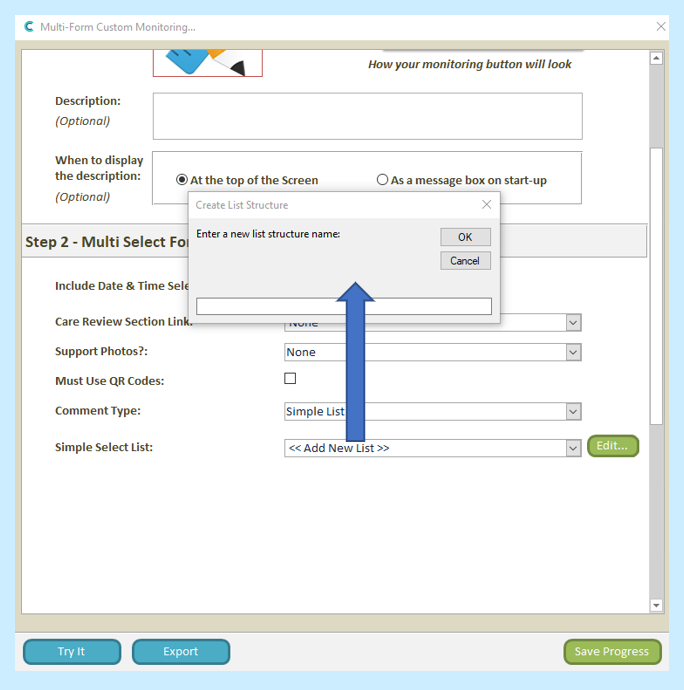
If you select Add New List you can create a new list.
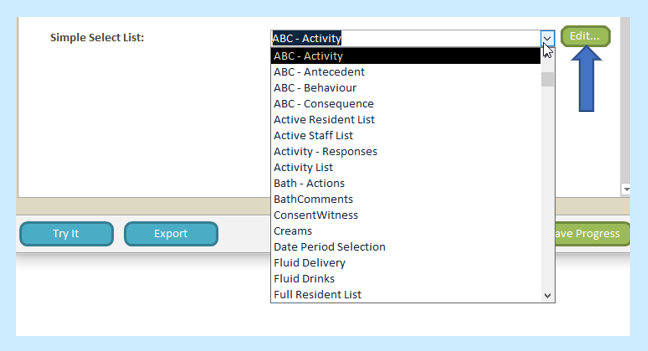
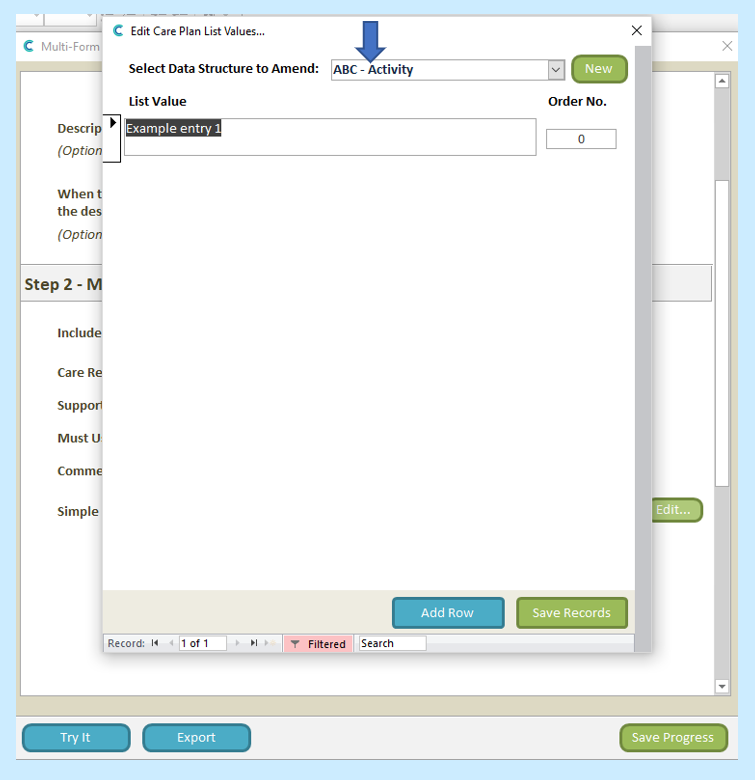
You can also edit existing lists by selecting the one you’d like to change and then clicking the Edit button.
For the Comment Builder option you will be required to first select a Single Select List – this is useful for recording whether or not a service user has allowed/refused care.
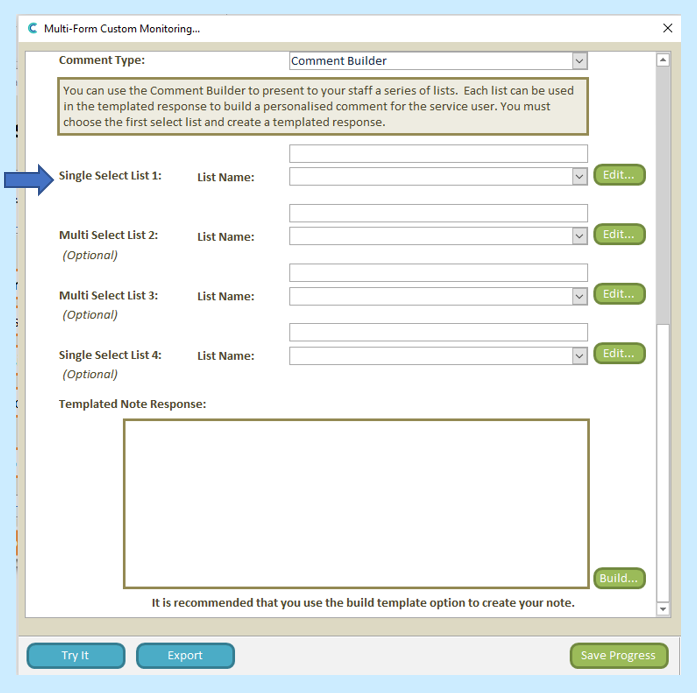
You can have up to four lists in total, two Single Select and two Multi Select lists.
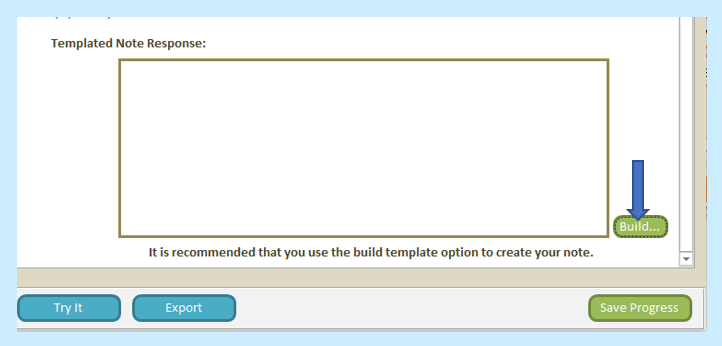
Once you have selected your lists, you will need to create your templated note response. Select Build.
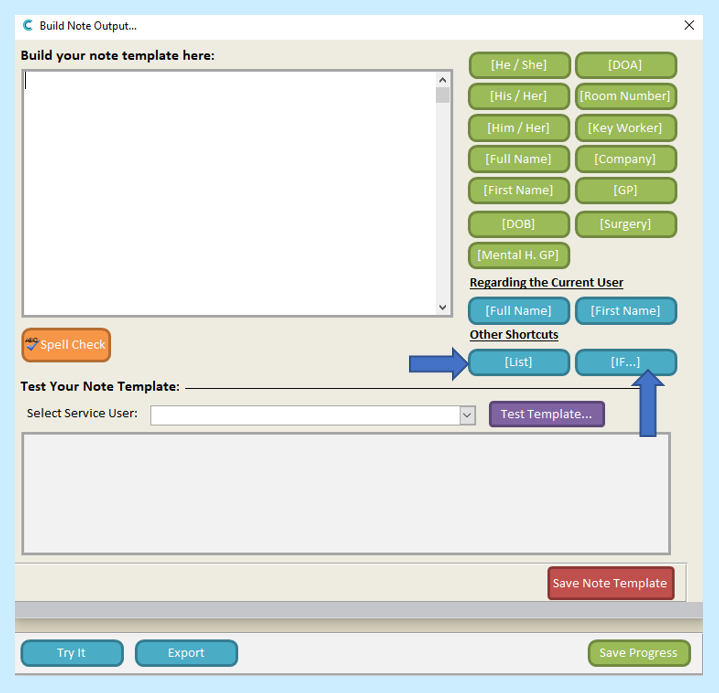
Here you can tell the note to use various options that depend on the service user’s data (name, DOB, surgery etc).
The [List] option will show the output from the List you choose.
The [IF] option will allow you to create notes that depend on the output of the List.

Once you are finished, select Save If Statement/ Note Template/ Progress.
All that is left to do now is to activate your monitoring.
To do this, close the multi-form monitoring window.
Select Draft Only from the tabs.
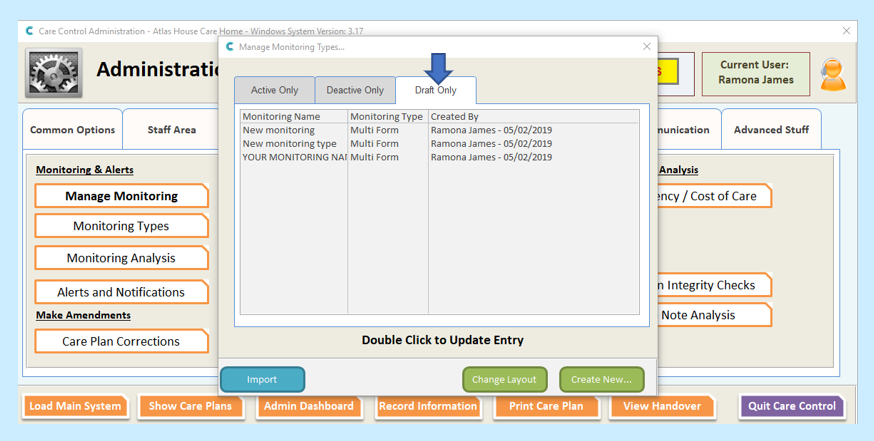
Click on each of your new monitoring areas and make sure that you are happy with the default frequency settings.
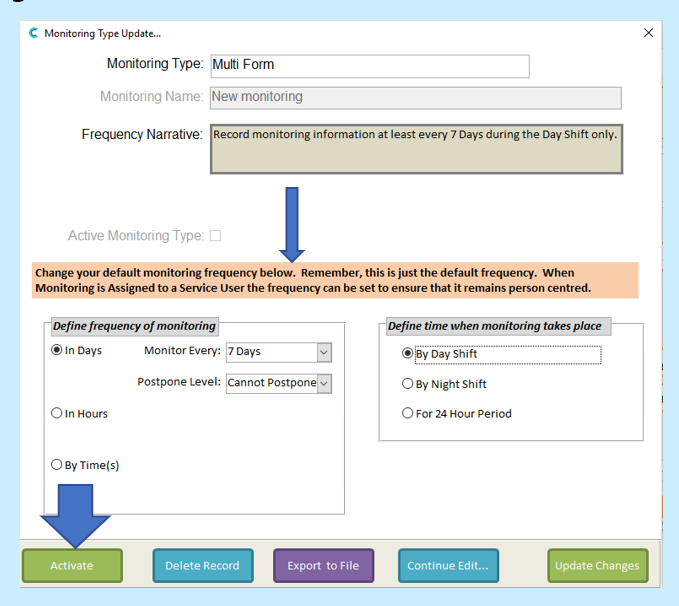
Select Activate.
Your monitoring area can now be assigned to service users.